.jpg)
.png)
I love strawberries! No, I didn't say that quite right. I LOVE strawberries!!
Fresh, ripe, juicy, sweet strawberries!

And anything with strawberries or strawberry flavor! Strawberry tea.

Strawberry sugar cookies.

Strawberry shortcake. Psst. Wrong Strawberry Shortcake!

That's better. But she's cute too!

Strawberry candies.

And when strawberries are combined with another of my favorites, ice cream, I'm in heaven!!


Last year I joined other costumers in creating themed costumes for Halloween and the Holidays using the style or vintage Gunne Sax patterns.


So when Cait of Willougby and Rose suggested using the Gunne Sax style or vintage patterns with fabric from our favorite snacks, #gunnesnacks, I was completely in!
This is Part One, creating a Strawberry Fascinator, because the steps can be used for any favorite fruit or flower or whatever shape your imagination fancies. The making of my #gunnesnacks garment will be in the next blog post and video.

I have a strawberry applique that will be used as a shoe embellishment in my finished #gunnesnacks project and use that applique as my inspiration for the fascinator. I use pieces of buckram cut from the openings of previous hat projects. One piece is single ply buckram, and the other is double ply.

Millinery wire, I'm using 21 gauge, is sewn at the edge of each strawberry so that I can bend them to shape.

The wire is overlapped about an inch on the center top edge where any ridges will be covered by the embellishments.

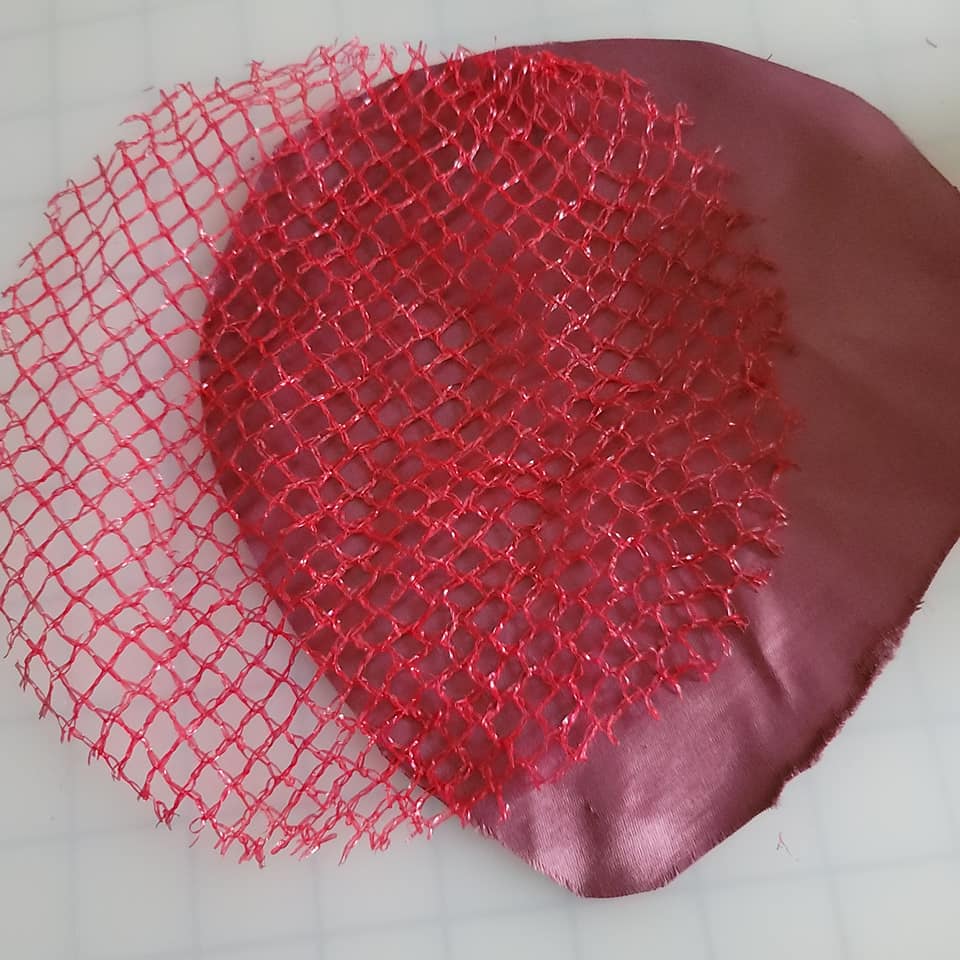
To replicate qthe strawberry texture I'm recycling the net bag from another fruit.

I had some scraps of satin fabric from my Victorian Barbie project and I thought the satin shine would be nice under the texture of the net. I cut both the net and the satin into the strawberry shape with an additional 1/2" all the way around for seam allowance.
The satin and net are clipped in place over the wired edge. With a thread matching the net color I whip stitch over the edge to secure the net and satin sewing through the buckram.


Now the strawberries are clipped into position and the wires bent into the shape desired.

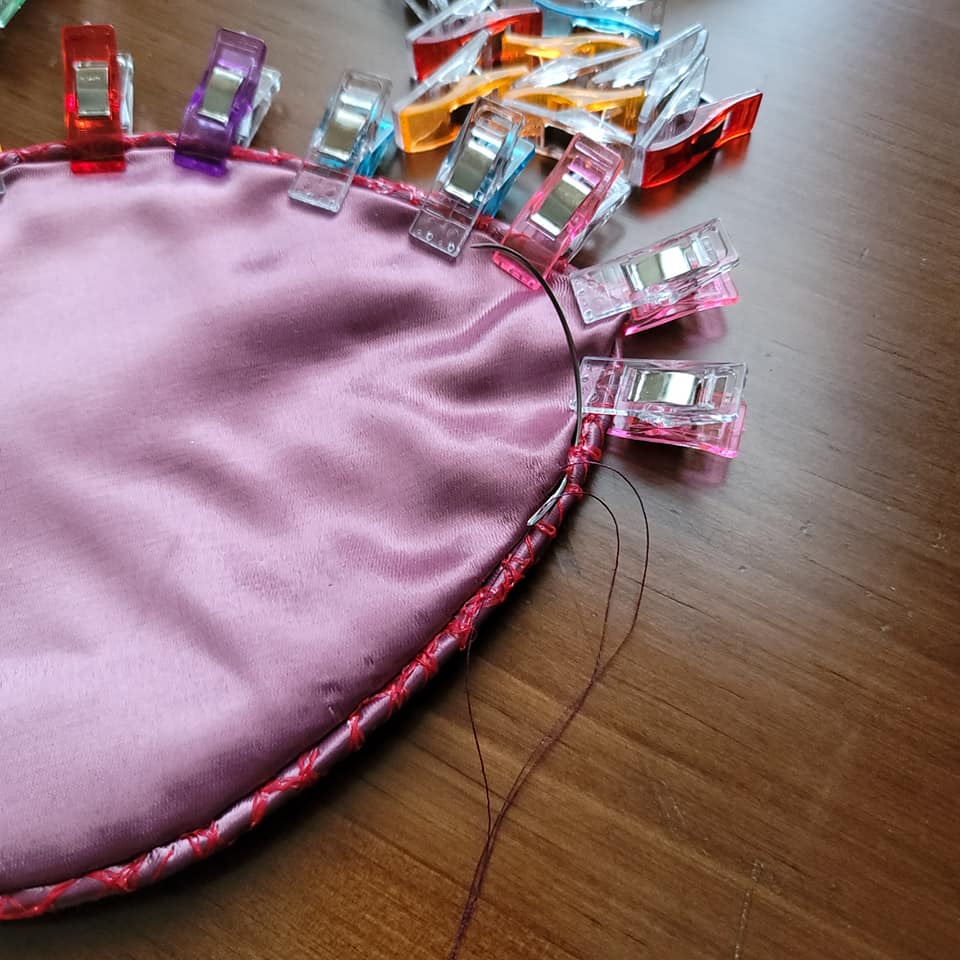
The lining is cut from the satin fabric with a 1/2" seam allowance added. Then the seam allowance is turned under and the satin clipped to the back of the strawberries.

The lining is sewn to the seam allowance of the front fabric just inside the wired edge. Here a curved needle is very handy.

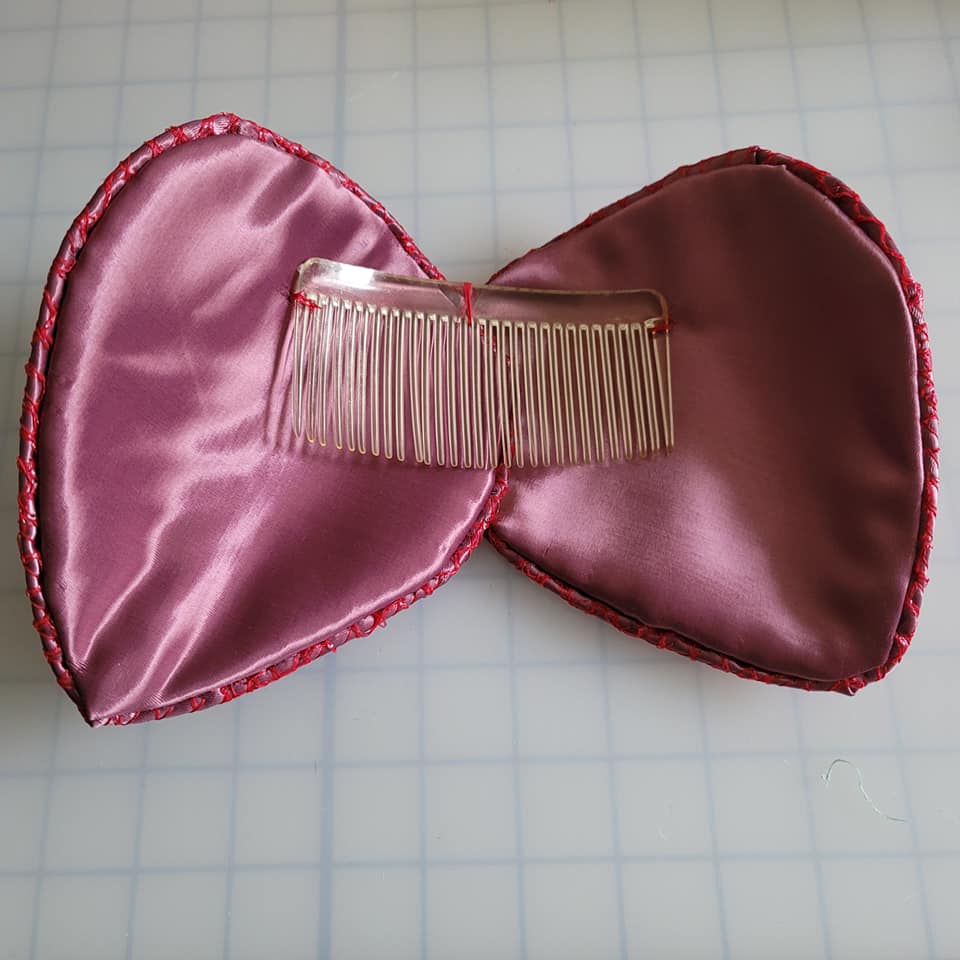
The strawberries are positioned, tacked together at the upper edge and a comb in sewn onto the back.
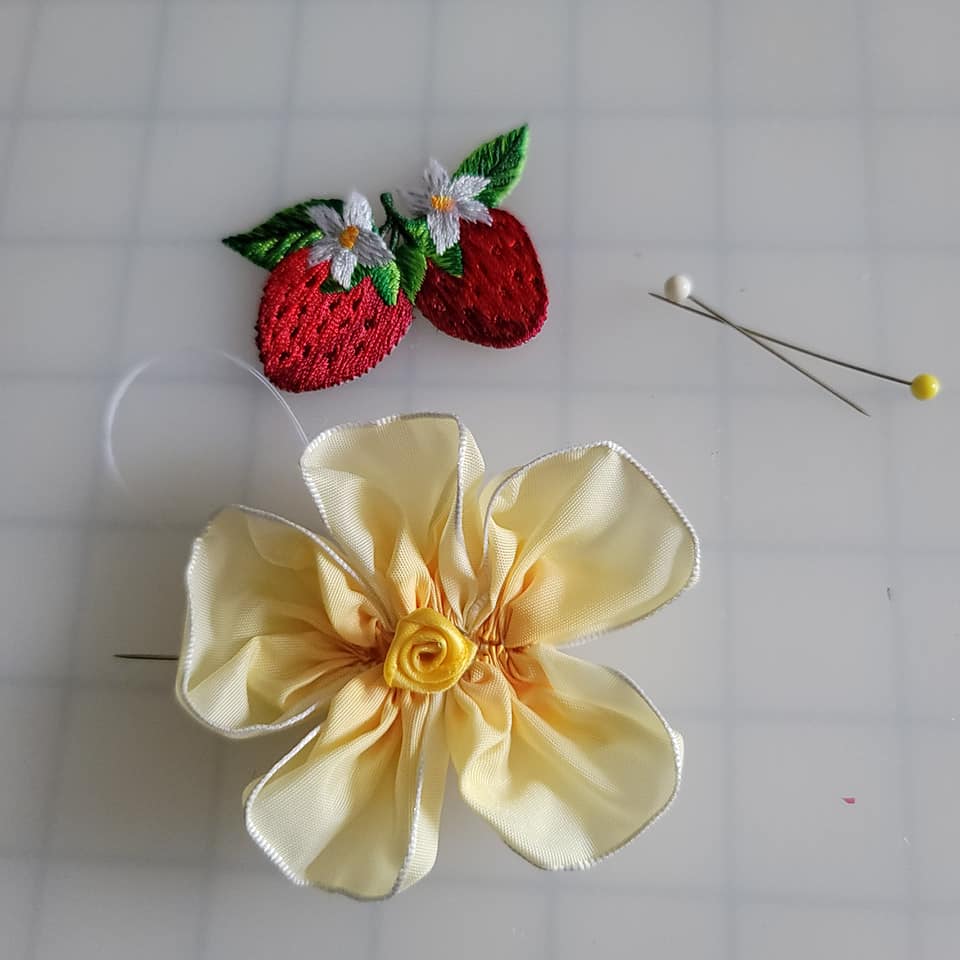
Although I've had strawberry plants with red or pink blossoms, I would love white blossoms for this project but I don't have any white wired ribbon on hand. I do have a bit of a yellow and white ombre wired ribbon so I decide to use the ribbon with the white to the outside and the yellow to form the darker center. I've taught ribbon classes in several places including Costume College and have been thinking of making some tutorials for the flowers I teach most often: roses, vintage roses, pansies, dogwood blossoms, and leaves. If you would be interested in those tutorials please let me know in the comments. For this project I'm using the method for a cherry blossom which is simply a pansy with more petals.


I add a premade yellow satin rose to the center for a bit more color.
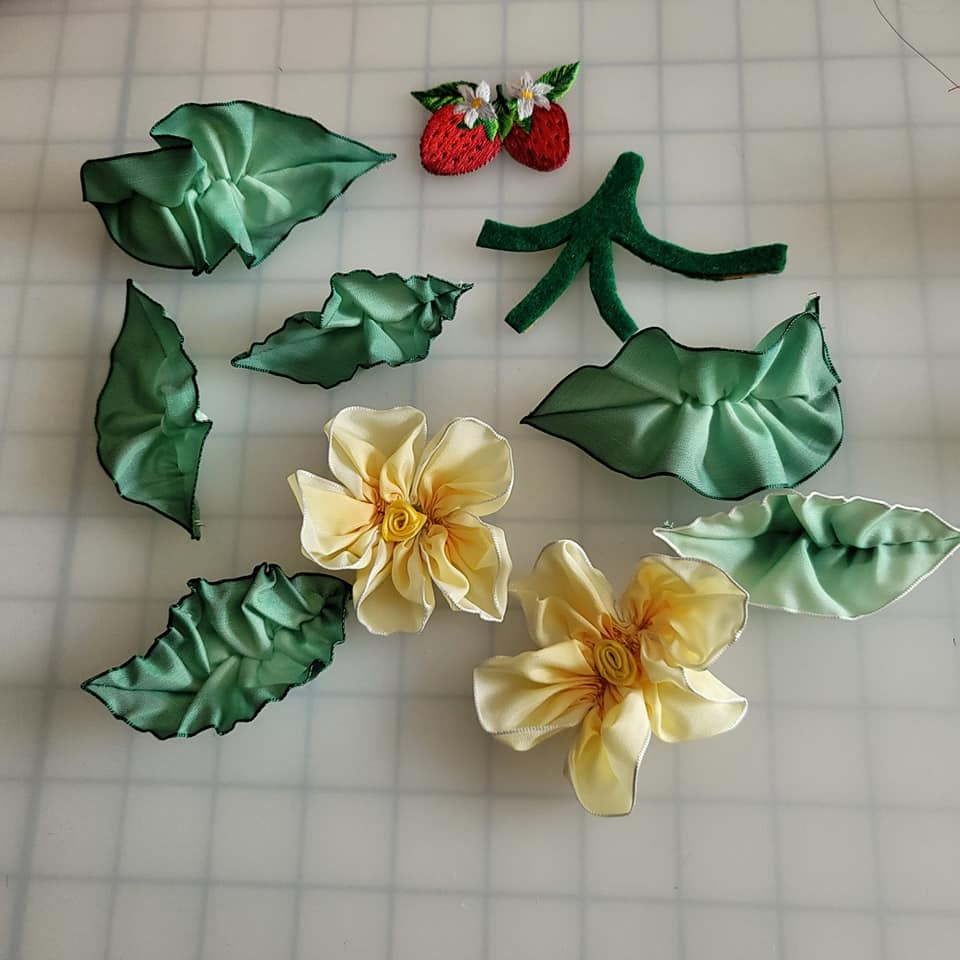
The leaves are made from a green ombre wired ribbon. As with the blossom, a wire is removed from one edge and gathered with sewn stitches.

I have some green self-stick felt left from a furniture project from years ago and the paper backing can no longer be removed. I draw a stem on the paper backing, cut two sets of the stem, and then glue them together.

Works in progress.

Finished embellishment parts.
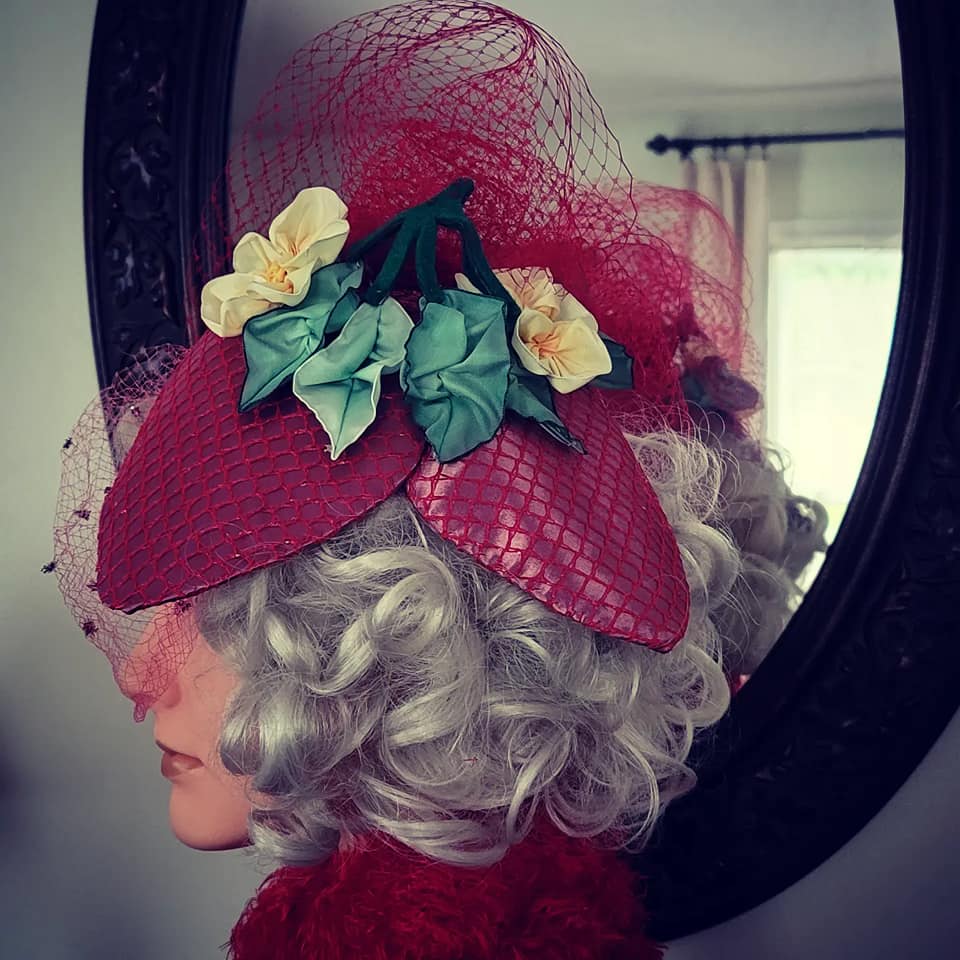
The leaves are attached to the stem with a few stitches with green thread. The leaves are stitched to the strawberry causing the stem to be in an upright position. The other two larger leaves and the blossoms are sewn to the base. The wired ribbon allows all the embellishments to be adjusted. If the fascinator becomes crushed when packed or stored, everything can be readjusted easily.


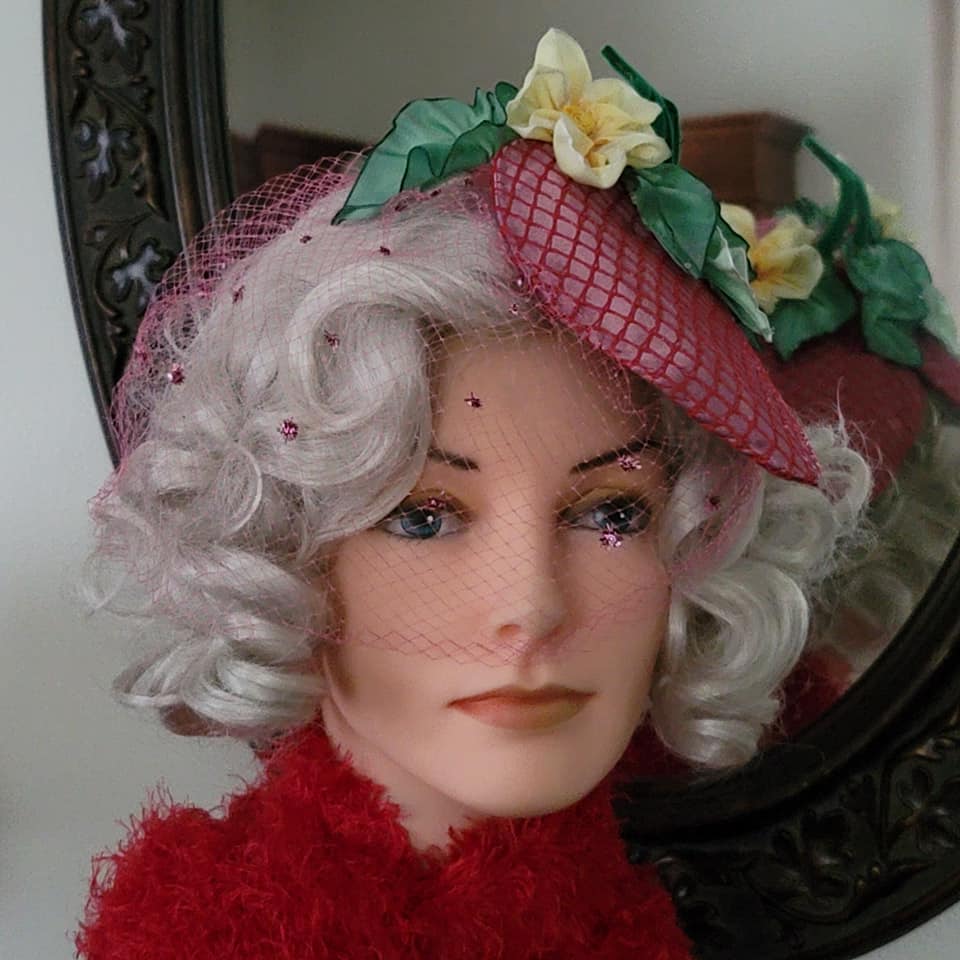
Wearing the Strawberry Fascinator
A fascinator can be worn as a simple topper to a simple day dress.


It can also be further embellished with a length of veiling. I have this very long piece of red veiling which I have never cut and I just refold and repin to hats or fascinators for a more dramatic look.


This vintage piece of French pink veiling with sparkles is a favorite of mine and has been used on quite a few hats and fascinators. It creates a beautiful evening look or very bold and dramatic day look.


And then there are those days where more is just more and two sets of veiling feels just right!


Even a strawberry can shine in low light.


I hope you enjoyed this project! Please let me know in the comments if you are interested in having me write and video some ribbon flower tutorials. Thank you for being here!!
Hugs,
Jeanette
Companion YouTube Video: https://youtu.be/65XayBht9eI
#gunnesnacks YouTube Playlist: https://www.youtube.com/playlist?list=PLx-rA39xXWMdNwZdATwSXsWpbT-tmNzyn


Very creative in terms of design and materials! It will be fun to see your outfit put together eventually.
ReplyDeleteBest,
Quinn
Thank you, Quinn! It was a fun, spontaneous project!
Delete