September – Colour Challenge Brown: it’s not the most exciting colour by modern standards, but brown has been one of the most common, and popular, colours throughout history. Make something brown.
I love brown! Because it's the color of one of my favorite food groups - chocolate! What? Chocolate isn't a food group? I believe it is magic and medicinal and such a gorgeous color.
Brown color was a large part of my wardrobe when I was younger and a brunette, but has become less so as I've aged and allowed the silver in my hair to dominate. So the challenge here is double in that I have a beautiful brown/blue selection of fabrics in my stash but want to create and wear them with my natural hair color of silver. I have a Victorian Ball to attend at the SASS Convention in December so off to my first choice of Victorian inspiration, Victorian Fashions & Costumes From Harper's Bazar 1867 - 1898 by Stella Blum.
This is the brown and some coordinating fabrics from my stash: a blue/brown leaf pattern brocade, a blue with brown shot silk, a brown smocked taffeta, and some various brown and blue lace and white embroidered organza.
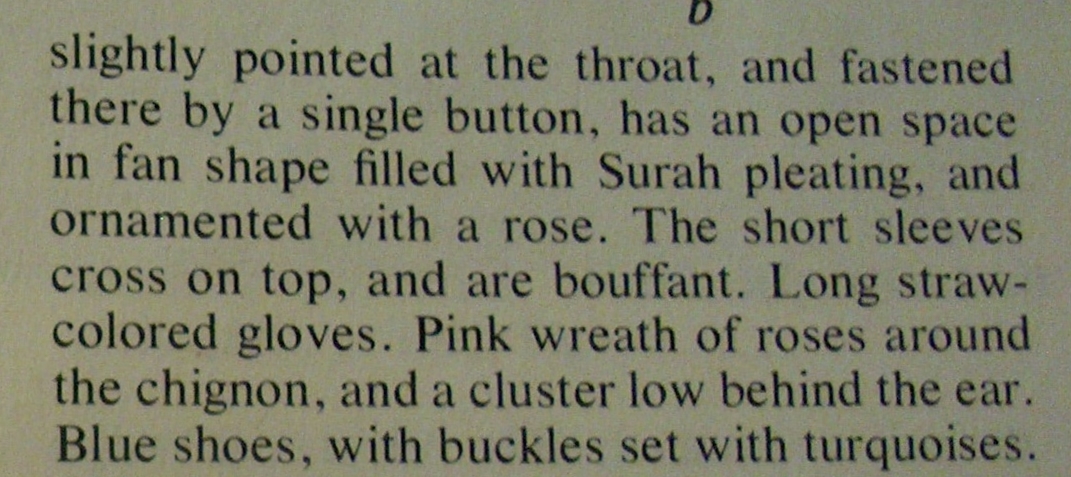
Limited by the amount of fabric I have, I immediately go to the Natural Form and Cuirass Body 1875 - 1882 portion of the book. And there it is! The perfect inspiration from 11.26.1881.
The description of the inspiration Fig. a.
Using Truly Victorian patterns that I've used previously and absolutely love: TV420 1879 Cuirass Bodice, TV225 1878 Fantail Skirt, and TV326 1880 Hermione Overskirt.
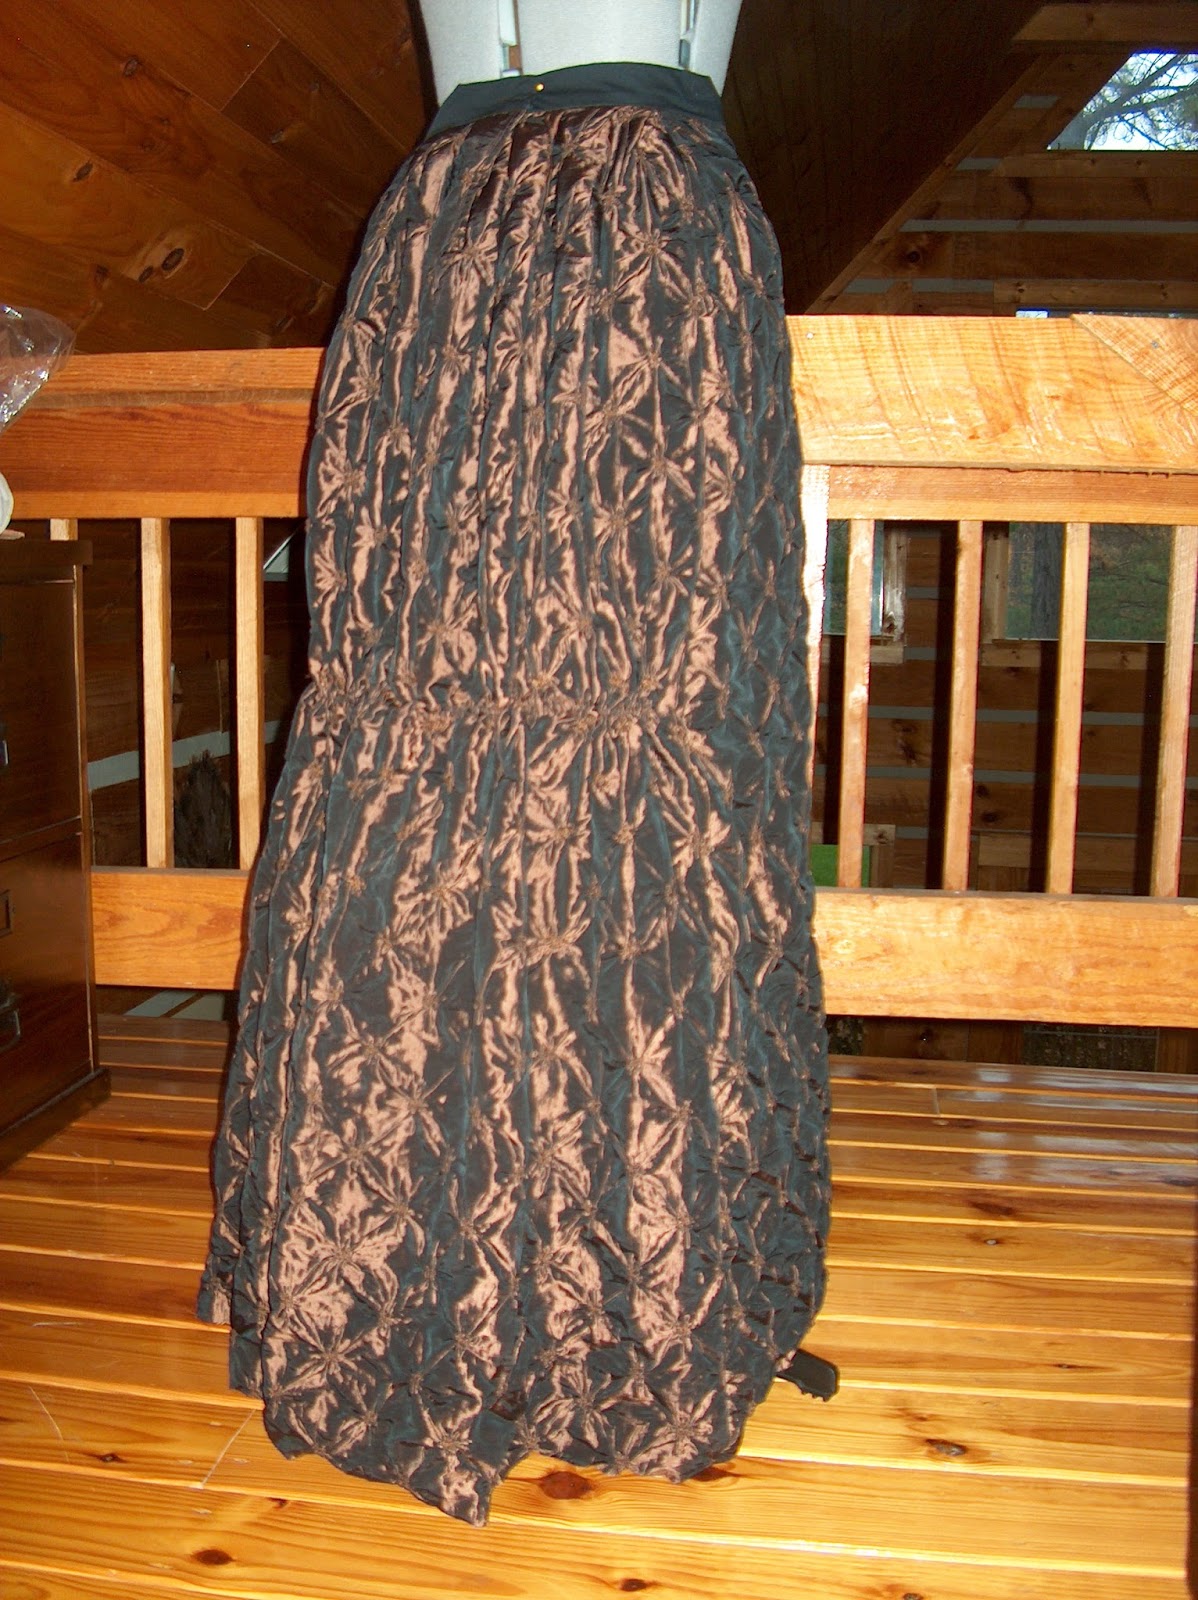
Since I already have a nice Natural Form Era set of underthings including a wonderful petticoat, I can move right into making the skirt. I choose the brown smocked taffeta which I make without a train so that I can easily dance at the Victorian Ball.
 |
| Smocked taffeta fabric. |
 |
| Skirt front. |
 |
| Skirt back with drawstring. |
Although I have some ideas for trimming the skirt I'm going to make the overskirt first to see the effect before I finish the hem and trim the skirt.
 |
| Overskirt back. |
 |
| Overskirt front apron piece. |
 |
| Overskirt front lower lining of blue silk. |
 |
| Overskirt panniers. |
 |
| Overskirt panniers laid on overskirt apron. |
Hmmmmm, no photos of the completed overskirt.......sorry!
Deciding to also finish the bodice before the skirt hem and all the trim, I interline all the bodice pieces with a nice cotton. There are three things I'm obsessive about for sewing Victorian bodices - interlining, boning, and pressing all seams flat and then again open as I sew. I think I spend more time at the ironing board than I spend at my sewing machine and I truly believe it makes a world of difference. Pressing the seam flat integrates the stitches into the fabric. Pressing open during the process rather than waiting until the garment is complete is good exercise as you bound up and down from machine to ironing board (*wink*) but makes for a more finished look to the garment and is easier than trying to press the seams when the bodice is finished.
Boning is my second obsession. Although I will be wearing a fully boned corset, the boning in the bodice is not to keep me in place, it is to keep the bodice shape. A boned bodice wears differently than one with light or no boning. A boned bodice will shape to your corseted shape, there will be less puckering, and it also stays in place better. I don't know the reasons for all of that, but having worn both boned and unboned bodices I can say there is quite a difference in the way the bodice looks and feels. Because I will be dancing in this gown I have chosen spiral boning. It moves in 4 directions which is wonderful for dancing. I purchase the boning and make my own casings out of cotton.
 |
| Boning placement and lengths. |
 |
| Bones sewn into casings and hand stitched to seams and darts. |
With all the first pressing complete and the boning sewn in, the bodice is ready for the shoulder seams and sleeves. As I study the inspiration drawing and description I realize that the sleeve wraps around and onto itself. It has a nice trim to the edge which is repeated on the neck opening. A little search through my trim and I find some perfect brown piping and a satin pleating and, thankfully, there is just enough of both. Wonderful! As I'm thinking about how to create the sleeve I notice on my costume rack that my Truly Victorian Combinations have the very sleeve I need for this bodice. I pull out that pattern piece, adjust for width, test fit, line and trim, and smile. This will work beautifully!
 |
| From top down: Piping sewn to pleated trim. Pleating cut even with piping and then sewn to lining. Fashion fabric attached. |
The bodice is now complete except for the lining.
 |
| Front bodice with sleeves. |
 |
| Back bodice with sleeves. |
 |
| Inside bodice with sleeves before lining. |
 |
| The bodice front was folded to resemble the inspiration neckline and all pieces for fashion fabric and lining were trimmed. The piping and pleating were sewn to the fashion fabric and then the full lining was attached to the entire bodice. |
With the skirt, overskirt, and bodice on the dress form, I can now start to see how the trim would work. First the pleating on the skirt. I use my Perfect Pleater to create 190" of 1/2" pleating from the blue silk. The pleating is set with a vinegar/water solution of 1 part vinegar to 9 parts of water sprayed onto a press cloth and then set with an iron over the press cloth. The pleats can't be removed from the pleater until they cool so the pleating takes quite a bit of time but is oh so worthwhile!
 |
| Pleats cooling in the Perfect Pleater. The library card on the side is how I position the fabric into the pleater. |
One yard of fabric makes 17" of 1/2" pleats. Since I need 190" of pleats I use just over 11 yards of fabric 5" wide to create the pleats for this gown For these pleats I was able to cut 10" wide pieces, fold in half, pleat, pin, and then sew the pleats in place before trimming the skirt.
 |
| 60 miles of pleating. Well, not really, but it sure felt like it! |
Victorians had wonderful little machines that did their pleating and fluting and they were very smart to have invented those little machines!
The skirt is hemmed and the pleating attached to the skirt.
This coordinating trim was a remnant find and while the tassels were tempting, they were not true to the inspiration gown so I cut them off and hand stitched the trim at the top of the pleats.
Another trim remnant is perfect for the overskirt where the beading will catch light while dancing.
Buttons covered with the same taffeta fabric that was used for the underskirt...
 |
| Buttons continue down the overskirt to recreate the inspiration fashionplate. |
...and ribbon roses for the skirt and bodice.
 |
| I taught this technique at the SASS Convention so everyone can have beautiful roses! |
 |
| I believe the Victorians would approve of all the trim and details happening here! |
The last trim I need to recreate the inspiration are the "fans" on the overskirt and bodice. While the brown and blue laces were pretty, I didn't feel that moment where I smile and say to myself "that's it!". The white embroidered organza didn't bring on that moment either. What did work were pieces of the smocked taffeta used for the underskirt. I love it on the bodice and cut a triangle, piped it and lined it with the blue silk and sewed a small trim to the lower edge.
Since the opening of the overskirt was already in a triangle and the brown taffeta fabric was showing, I opted to leave that as it was. I pinned a piece of the fabric under the panniers of the overskirt and while I waited for it to catch my eye, it never did, and I removed it.
The gown is finished!
Although extremely simple in design, the final gown was very bold with the red roses and the pleating and trim. This needed a bold hairpiece! At Costume College 2014 I found these wonderful feather flowers and an almost paper flower, all of which were the perfect color. I added these to a rhinestone headpiece and then topped it all with a bird filigree tiara that I had embellished with Swarovski crystals. Over the top? Oh yes!
The gown is finished with the addition of silver shoes and silver gloves. It is put away and kept secret until December when I wear it to SASS Convention and receive the award for 1st Place Best Dressed Lady! I'm thrilled and I cried!
My presentation is about the year 1881 when the United States lost President Garfield to assassination, the scallywag Billy the Kid was captured and killed, and those cowboys had a shootout at the OK Corral. In other news the Savoy Theater in London opened as the first public building fully electrified (a world changer, I'm sure), and that nice Mr. Edison and Mr. Bell have started the Oriental Telephone Company (which will be another world changer, mark my word!). But if I were young, like you, I would also keep my eye on that young Mr. Wrigley in Chicago who is handing out free chewing gum. You might even want to go to Broad Street in New York where they exchange stocks and invest in his company. Quite a year, 1881.
Historical Sew Fortnightly
What It Is: 1881 Evening Gown
The Challenge: Colour Challenge Brown
Fabric: Brocade, taffeta, silk dupioni
Pattern: Truly Victorian TV420 Cuirass Bodice, TV225, 1878 Fantail Skirt, TV326 1880 Hermione Overskirt
Year: 1881
Notions: Skirt pleating trim, satin ribbon for roses, buttons to cover, piping and pleating for sleeves and neckline, thread, spiral boning
How historically accurate is it? True to the fashionplate inspiration as I could achieve.
Hours to complete? 70 hours
First Worn: SASS Convention 2015 Victorian Ball
Total Cost: $330.00
Love,
Jeanette
.jpg)