.jpg)
"No, I don't have a fabric/trim/accessories stash."
Said no costumer - ever!! The minute you begin historic costuming a new life begins. It starts with a little voice that calls out when you pass by the fabrics lining the walls of your favorite store and ends with plastic bins or rolls of fabric in a closet, under the bed, or in a huge pile in a corner of the sewing space. It's inevitable and it's a testament to your creativity and commitment to this wonderful passion. But time is your enemy and robs you of those moments (hours, really) needed to take that beautiful stash and turn a next-to-nothing into the fabulous something you just knew it could be!
The Historical Sew Monthly Challenge #3 was understanding of this phenomenon and gave us the opportunity to dive and dig into those corners and put together that fabulous something once and for all. This is mine.
Starting with a Butterick Retro '12 pattern B6108 released in 2014 and loved by many. I adored this pattern but started to hear some not so great reviews and immediately put the pattern into the pattern stash. (Yes, there is a stash for those too.) Our local Hancock Fabrics built a new store last year and I had to stop to check it out (of course!) and found some interesting crinkled cotton at $1.00 a yard. I bought all 24 yards and it went into the stash. When a friend was destashing her fabric collection and offered a pewter and black taffeta remnant piece at a good price, I thought the crinkle in her fabric would be a great compliment to my crinkled cotton and I moved her little stash into my stash. At least they could be together even if they didn't have a purpose.
Perhaps in a previous life I was a crow because I have an immediate attraction to little sparkly black things - buttons, beads, jewelry, appliques, trim - I buy it and put it into my stash. Some day it will all come together. I just know it!
And so it is that my project finally does come together with my Butterick pattern, the crinkled cotton fabric, the pewter and black plaid fabric, some vintage buttons and some modern but similar buttons, and a beaded collar that I have had for so long I don't even remember it's original home.

The crinkled cotton has to be flatlined since it is very lightweight and sheer in the right light and to keep the crinkles in place. I've chosen the option with a single large collar piece on the right side.
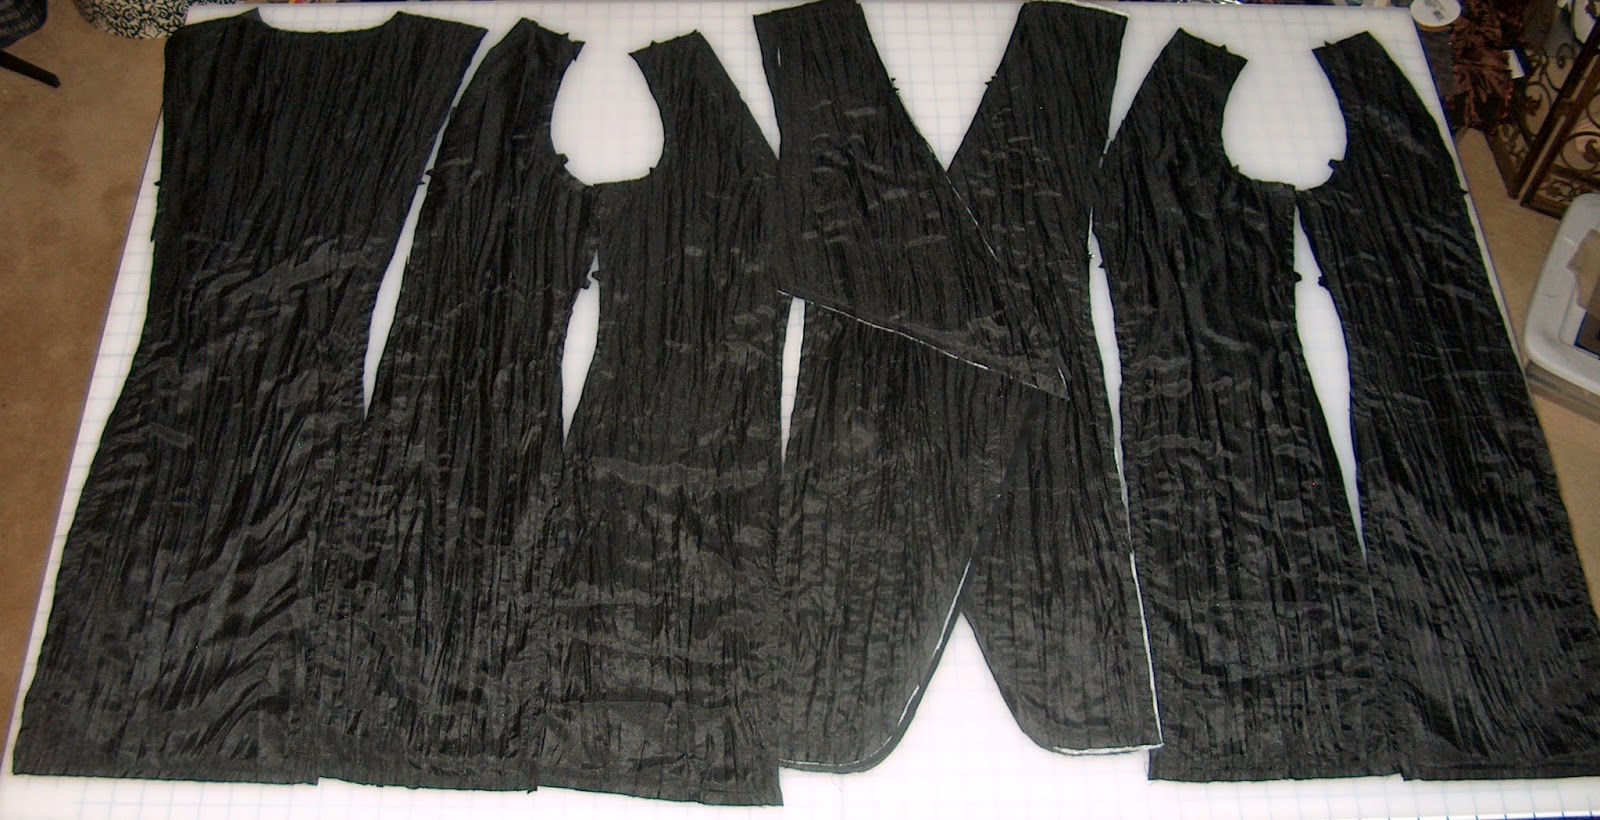 |
| The flatlined and interlined jacket pieces. |
The skirt, small contrast collar and cuffs will be made from the plaid taffeta.


Black cotton lining.

During the jacket construction I have a thought that I may not like the contrast collar with a vintage blouse I plan to use. I take some pictures, share with friends, and the vote is unanimous - yes to the collar.

Before sewing in the sleeves, before hemming, and before adding buttons, I try on the in-process suit with the shoes and underthings I will be wearing. In my accessory stash I have rediscovered this over-the-top beaded hat which is perfect for this suit.

The suit is finished and at last I add the wonderful vintage buttons to the cuffs.


With a finished skirt I change my mind and add a black blouse with lace jabot.

The finished suit!


 |
| The vintage buttons have a new life. |


What the item is: 'Martha Levinson' Suit
Fabric: Cotton, taffeta
Stashed for how long: Soonest was late 2014 and longest was when I first started sewing in 2007.
Pattern: Butterick Retro '12 B6108
Year: 1912
Notions: Vintage and modern buttons and beaded collar
How historically accurate is it? The pattern is very accurate according to photos I have seen and a vintage jacket owned by a friend.
Hours to complete? 22 hours
First worn: Made for the April 2015 Dressing Downton Exhibit at Biltmore Estate.
Total cost: Fabric was stashed because the cotton was purchased at $1.00 per yard and the plaid came from a friend's stash. Total actual out-of-pocket approximately $40.00 mostly in the collar and buttons.
Do you think Martha Levinson would approve? It's quite her over-the-top style, I believe!

Love,
Jeanette


