.jpg)

A costume hobby is a journey of constant learning. I began knowing absolutely nothing and the more I do learn the more I discover new things to learn! For the past year one of my favorite places to gain knowledge has been the offerings by 1886location.com through their Costume On weekends.

There have been three Costume On weekends beginning in May 2020.

In Costume On 1 I studied:
1. The Pink Pingat Gown: Understanding a Couture Gown from 1867
2. Mid-Nineteenth Century Fans
3. Hand Sewn Buttonholes & Eyelets
4. Intro to Digitizing Embroidery
2. Mid-Nineteenth Century Fans
3. Hand Sewn Buttonholes & Eyelets
4. Intro to Digitizing Embroidery

Costume On 2: Tailored in September 2020:
1. Adapting a Regency Waistcoat to Fit a Female Form2. Collar Workshop: Tips, Tricks, Samples & Shaping
3. Online Research
4. Punch Paper Workshop

Costume on 3: Origins in April 2021:
1. Thread and Shadow - Textile Buttons
2. 1880s Coil Bustle Workshop
3. Fly Fringe, Knots, & Passementerie
4. Dimensional Trims
In addition to the classes there were bonus classes, get-togethers, introductions, and all from the comfort of my own sewing space and cup of tea. 1886location.com has also offered a series of Master Classes. I took one with 12 hours over two days of intense training to study everything relating to Live Streaming and Tech which was perfect timing for the start-up of my YouTube Channel.

In May of 2021 another Master Class was being offered and I was sitting at my computer watching the clock and waiting to sign up for Lightness & Elegance, Recovering a Victorian Parasol. The instructor was Maegen Hensley who I met at Costume College in 2019 when she was Dean. We also served on an Historical Accuracy panel together that year. I had taken her Collar Workshop at Costume On 2 and was very impressed by her style and the kits she had mailed to the students and the detail and follow up she had provided. The clock struck noon, I hit Enter, and I was in! Yay!!

Maegen offered two options for the class: one including an antique parasol and one without. Although I have a nice selection of antique parasols and some needing recovering, I decided to purchase one of the beautiful offerings she had - a 1900 walking stick style.
If you have followed my blog or Instagram posts or attended my Parasols and Petit Fours class at my Victorian Valentine Weekend in 2019, you already know that I'm not a complete novice at parasol recovering. My blog even has a tutorial for recovering modern nylon and wood parasols for an historical impression or fun accessory.


I have recovered several antique parasols using that same technique when at least one panel is intact and I could create a pattern. But that has been unsuccessful as the parasol panels have distorted past the point of patterning. I hoped to overcome that lack in my skills with Maegen's instructions.
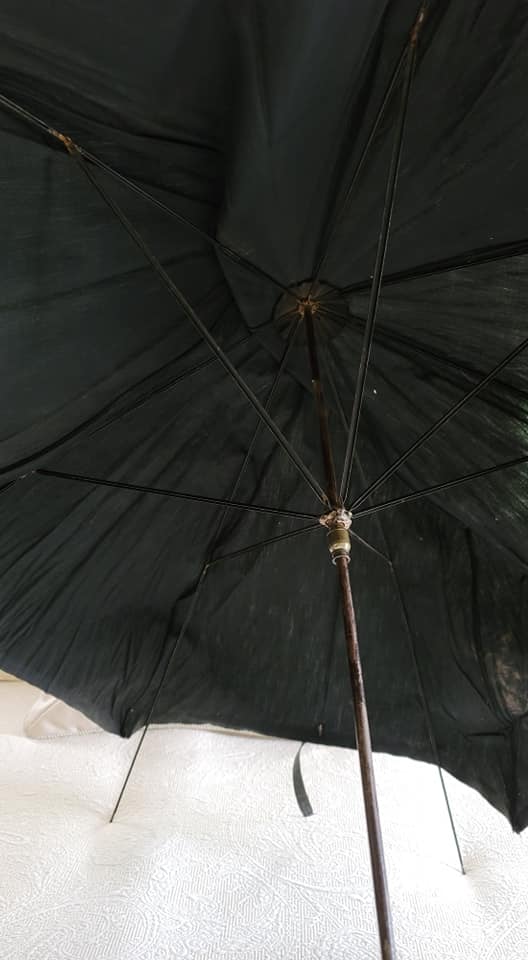
The parasol arrived safe and sound and it was a beauty! As so often happens with these antique parasols they succumb to the very thing they were designed to shield, the sun. This parasol had an embroidered linen canopy and was much shorter than the outer ribs indicating that it once had another layer or even a ruffled or lace edge. The edging matched the tassel color but one tassel fringe was completely gone and the other in very sad shape. But the mechanism worked extremely well and most of the interior protectors for both the hinge and runner and tip were still sound.


This is the upper baffle. It slides over the tip and will protect the canopy from the metal workings of the parasol.


This is the under baffle. It is sewn around the inner ribs which attach to the slider and move up and down the runner. I believe it protects m'lady's gloves from getting caught in the mechanism as she pushes the slider up the runner to open the parasol but I only know that from experience. Or it may just be to pretty up the metal parts. I don't really know and would love to know if you do!

Here is the upper baffle and lower baffle looking from the top of the parasol...

...and looking from the handle up as you would see it if you were opening the parasol.


To protect the canopy from the hinge where the inner rib joins the outer rib are sewn pieces of fabric. They are wrapped tightly and sewn very solidly.


While some parasols have tips at the ends of the outer ribs and the canopy fabric is sewn through holes, this parasol has a hole and spoke tip as part of the outer rib.

There are two springs on this parasol. One close to the handle which keeps the parasol closed.


As the runner is pushed up the shaft there is a second spring which locks in place. There is also a bumper to stop the upward motion from overextending the ribs.


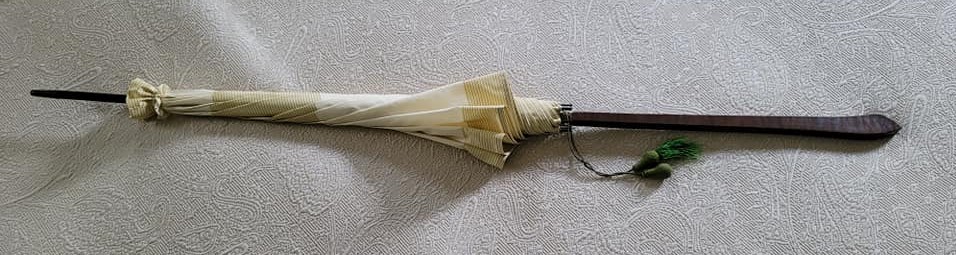
The parasol is long at 41-3/4" which is perfect for its multi-use as a walking stick.


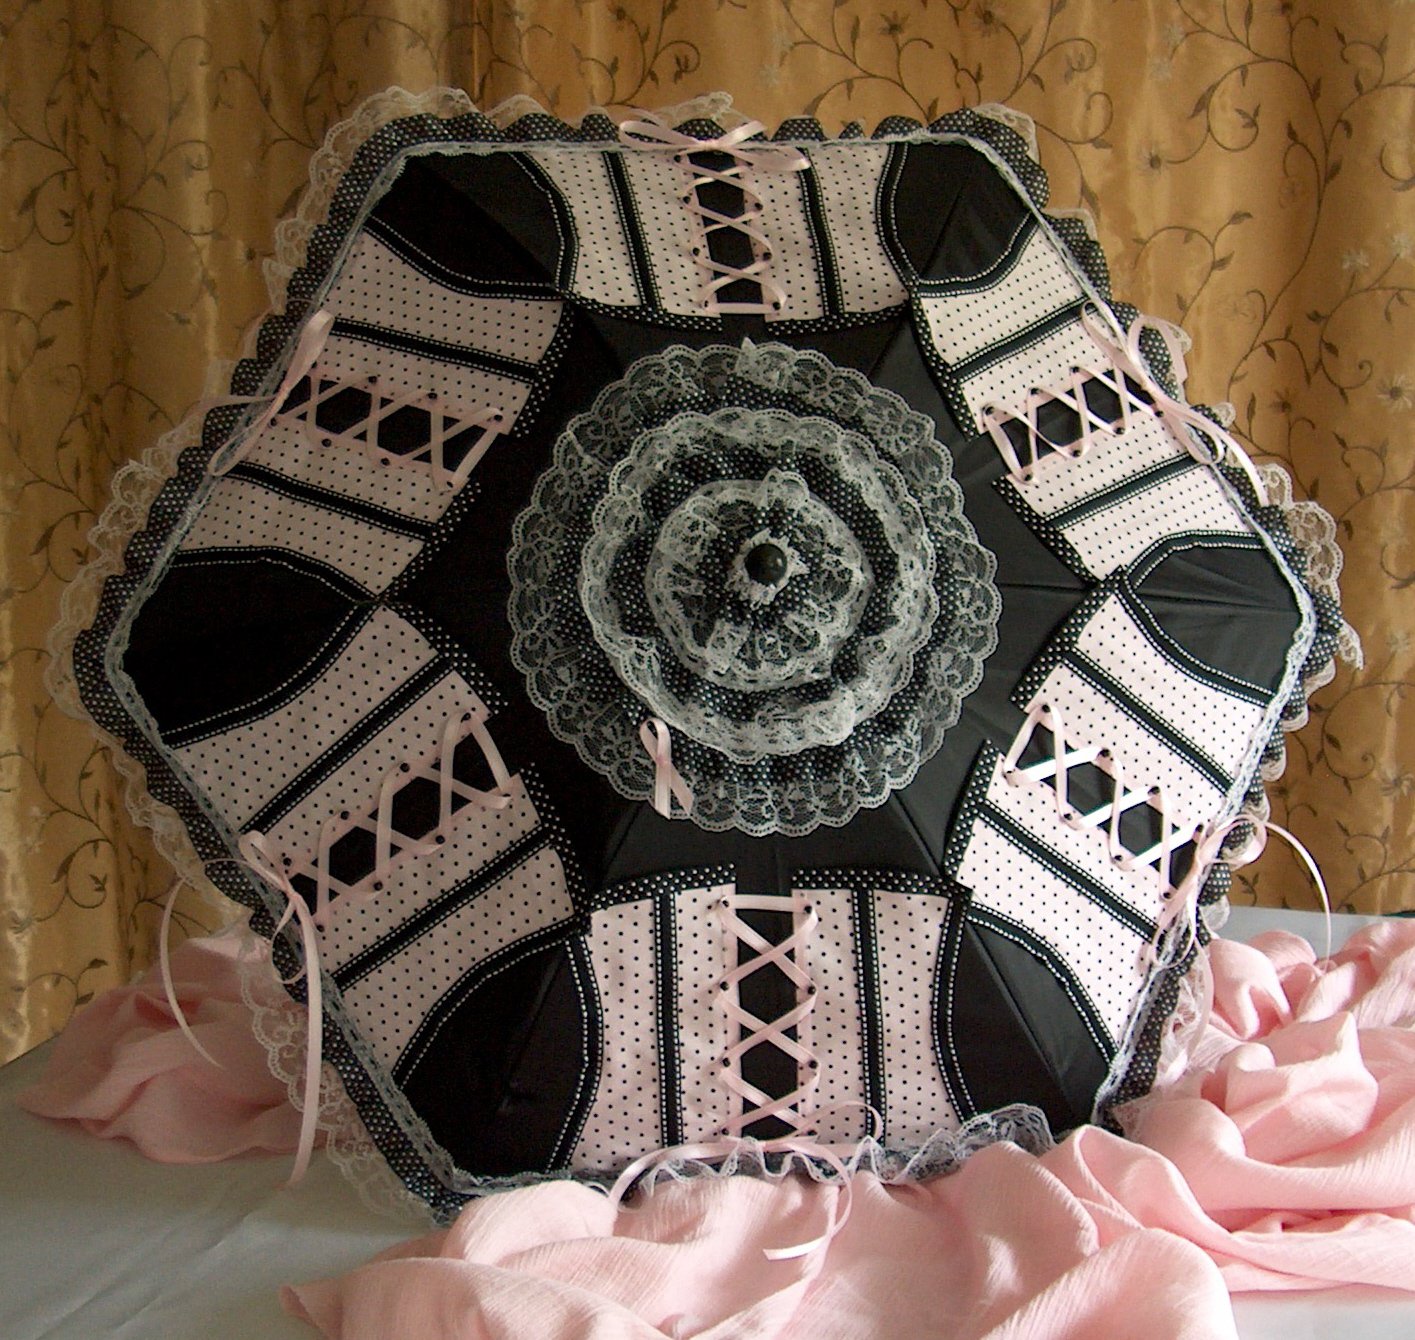
In my collection of Victorian parasols is one very similar to the parasol I'm about to recover.


Some of the fabric has pulled away from the spokes.

It retains its upper baffle but does not have the protectors at the hinge of the outer ribs and inner ribs.
It has the most gorgeous metal slider which also covers and operates the springs at the top and bottom so this parasol can serve as a walking stick as well.

It has the same rib tip and hole design as the parasol I am going to recover. A close inspection shows that the corner created at a panel seam is simple turned under and the fabric wrapped around the rib at the hole and stitched through the layers and the hole and wrapped around the outside of the fabric with each stitch.


To keep the canopy wrapped and safe when using the parasol as a walking stick there is a button and ring closure.

The Master Class weekend arrives! While I can't share all the techniques from the class as it is the intellectual property of the instructor, I can share my journey to a finished parasol.
The first entire day was spent in drafting a panel pattern and sewing mockups. This is a necessary step in parasol recovering as even the slightest bit off on the one panel will repeat for every panel causing some wild fit over the frame. Every parasol needs its own pattern and every pattern will need several mockups to adjust. For my large parasol it meant quite a bit of cotton and sewing to finally give me something that satisfied me and the instructor. Yay!! Notice that the mockup is on the frame inside out to allow pinning and marking for required adjustments.


Silk taffeta is the fabric of choice for a parasol. I have used cotton, lace, poly fabrics, and linen in my modern recoverings, but this antique beauty deserves silk taffeta and I set off to find some. A costumer destash group yields a striped silk taffeta which is at a great price and will arrive in time. Stripes were very popular in the 1850s and 1860s but I imagine they were used in 1900 and now that I have a pattern I can always change my mind. :-) The stripes run parallel to the selvedge edge and I imagine a sunburst pattern on my new canopy.


I've always cut my parasol panels along the lengthwise grain and am thrilled to learn that I can cut my panels on the widthwise grain which will make my stripes circle the canopy. Yay!!! With my pattern and canopy design finalized I begin to cut each panel. Separately and with care to line up the stripes with pencil marks that I have made on the pattern.


With silk pins I carefully align the stripes for sewing.

I have 8 panels total and I sew in sets of two and then sew two of those sets together.


The two halves are sewn together and it is time for a test fit.


The seams had been pressed open and now I fold them and sew through all four layers to create a strong parasol seam. I explain this completely in my tutorial and I'll link that to this post.

The outside edge is hemmed and everything is pressed one more time and the canopy is pinned to the frame through the rib holes. I do love the stripes!


After the canopy is sewn to the 8 outer ribs the hole at the top is closed around the tip. Then a strip of fabric is sewn and gathered to create a notch trim which is positioned over the tip and tacked to the canopy.


During the class we learned a variety of embellishing techniques. My striped fabric didn't lend itself to those techniques or I didn't have enough fabric so I went through my stash for inspiration. First was a reclaimed lace gifted me from a sweet friend. I thought this could be sewn on with or without gathering.


Or perhaps an ivory lace that fit nicely over the ivory section between the stripes?

With a bit of ivory lace around the notch trim?

An ivory cotton trim?


Or some embroidery similar to what was on the original canopy? I trace the original design and embroider a sample.


I've learned that it is best to sew trim and embellishments on a parasol when the parasol is open and by hand. The parasol is open in "The Cubbyhole", my tiny sewing space, and takes up most of the room.

I stitch the fringe to the canopy following the hemline with a short stitch on the outside and a longer stitch on the inside. 


And there is exactly enough fringe left over to add a circle around the tip!

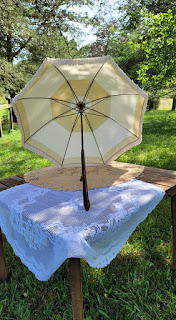
The 121 year old parasol has been given a new canopy, the decaying fringe has been removed from the tassel, and it is time for her to enjoy the sun - again!


But if there is a parasol, there has to be a gown to wear with it, right? There are some inspirations and dreams and a bit of fabric remaining for a wonderful hat and I do have a pattern for a gown and a beautiful collar. I think all together it would look lovely in the garden with this parasol and a cup of tea. But that's a project for another day!


Hugs,
Jeanette
Companion video on YouTube can be viewed at this link: https://youtu.be/omdk_TdZuUY

And, as promised, the link to my blog post tutorial for recovering a modern inexpensive parasol:
Historical Sew Monthly - April 2021
The Costumer's New Look - Give an old costume a new look, either by creating a new accessory or piece which expands or changes the aesthetic and use of an outfit, re-fashioning something into a costume item, or re-making an old costume.
What the item is: A Late Victorian Antique Parasol
How it fits the challenge: Recovering the parasol for use
Materials: Silk taffeta
Patterns: Self-drafted
Year: Late Victorian/Early Edwardian
Notions: Fringe
How historically accurate is it? The canopy fabric is accurate for this antique, but the fringe is modern.
Hours to complete: 24 hours including a two-day class
First worn: June 2021
Total cost: 2 yards of silk taffeta (this was purchased from a destash group), $80 for the antique parasol, plus the cost of the Master Class


Very beautiful and informative post.
ReplyDeleteThank you for sharing your knowledge.
Laurie
Thank you! I'm so pleased you enjoyed it!
Delete