.jpg)

Companion YouTube Video: https://youtu.be/KfWl5I9lEGI
Sewing a complete 1930s wardrobe meant sewing from the inside out.

YouTube Video: https://www.youtube.com/watch?v=mUf8DGFZd28
First I made and shared with you bras and tap pants.

YouTube Video: https://www.youtube.com/watch?v=iH9kosTz4ns
Then slips.

YouTube Video: https://www.youtube.com/watch?v=BwXTFesL3Nc
Then a corset garter belt for those smooth lines under clingy fashions.

Blog Post: https://theperfecttouchvictorian.blogspot.com/2023/08/sewing-1930s-corset-garter-belt.html
YouTube Video: https://www.youtube.com/watch?v=dbEDIRdBmJo
Then a museum piece recreation of the Kestos Bra and Zoma Belt.

Blog Post: https://theperfecttouchvictorian.blogspot.com/2023/09/sewing-1930s-kestos-bra-and-zoma-belt.html
YouTube Video: https://www.youtube.com/watch?v=YkSb4Arz2Lg
I was able to create that underthings collection with a selection of rayon, silk, satin, and lots and lots of remnants.

There was very little fabric left when I was finished but then I saw this wonderful pattern from Wearing History named Gigi - Early 1930s Combination Underwear. It is from the Wearing History Resto-Vival (TM) line meaning it is an original historic pattern that has been restored. It is offered as a multi-sized pattern for bust 30" to 42" and has cutting diagrams, cutting and fitting tips, the original period sewing instructions, and supplemented instructions. I purchased this as an e-pattern and the printing and using directions are thorough. The pattern assembles easily.

In my reference book Everyday Fashions of the Thirties As Pictured in Sears Catalogs Edited by Stella Blum, there are silk combinations called All-in-One Combinations or a Chemise.


I scour my bin of orphan cuts and find just enough of the blue china silk used for a 1930s bra and tap pants set, and a feather-pattern peach and brown silk crepe de chine used for a 1930s slip. Do these colors blend since they are a cool and a warm and on the opposite sides of the color wheel? It's a matter of personal taste, for sure, but it works for me since there is just enough fabric and the people who see these will be very close friends and understanding of my need to use every scrap of fabric available to me.

I cut the upper back and side backs from the blue china silk.

The upper front and shoulder straps are cut from the peach and brown patterned silk.

The lower front is cut from the peach and brown. The side godets are cut from the blue.

The lower back and gusset fronts and backs are cut from the peach and brown fabric.

Time to sew! The upper back and upper side back pieces are sewn and pressed.


The upper front has four darts sewn and pressed.


The upper front and upper back are joined at the right side. The left side is left open for the closure.


The lower front and lower back are sewn together. The right side is sewn from the top edge to the point where the godet will be inserted. The left side is sewn leaving a portion of the top edge open for the closure, and then down to the godet insertion point. All those markings are very clear on the pattern.


As you can probably tell, my fabrics are beautifully light and I decide to sew a seam which will be easier with my slippery fabrics. I turn under the 3/8" seam allowances where the godet will be inserted and press.


The notches on the godet and pressed seam allowances are aligned and pinned. The raw edge of the godet is aligned to the raw edge of the pressed seam allowance and pinned.


Turning the fabric to the right side, I pin the top layer securely in place for sewing and then remove the first set of pins from the wrong side.

Using my zipper foot, I machine sew close to the folded edge. This method also allowed me to create a nice sharp point at the peak of the godet. I call this a lapped seam although there may be other names for it. Where I've used this on other projects I've sewn another line of topstitching further from the edge but inside the seam allowance to ensure the seam allowance remains flat. It's an easy and strong seam finish, I feel.


Now the upper and lower sections can be joined and I use the same method I used for the godets laying the top section over the lower and topstitching.

With some narrow hemming at the upper and lower edges and the addition of shoulder straps, this could be a cute and easy to sew short slip or summer dress.

But since these are going to be combination underwear, it's t time to create and sew in the leg gussets. The fronts and backs are sewn for the right and left side and the seams are pressed.

The center seam is sewn and pressed.


A slit will be made in the center of the lower front and lower back and the gusset will be inserted there. I measure the length of the slit as indicated on the pattern, mark the fabric, and then cut the slit open both front and back.


I used a lapped seam here and press the 3/8" seam allowance to the wrong side of the fabric tapering toward the top of the cut opening.

Following the same steps I used on the other lapped seams, I sew the gusset to the lower front and lower back.


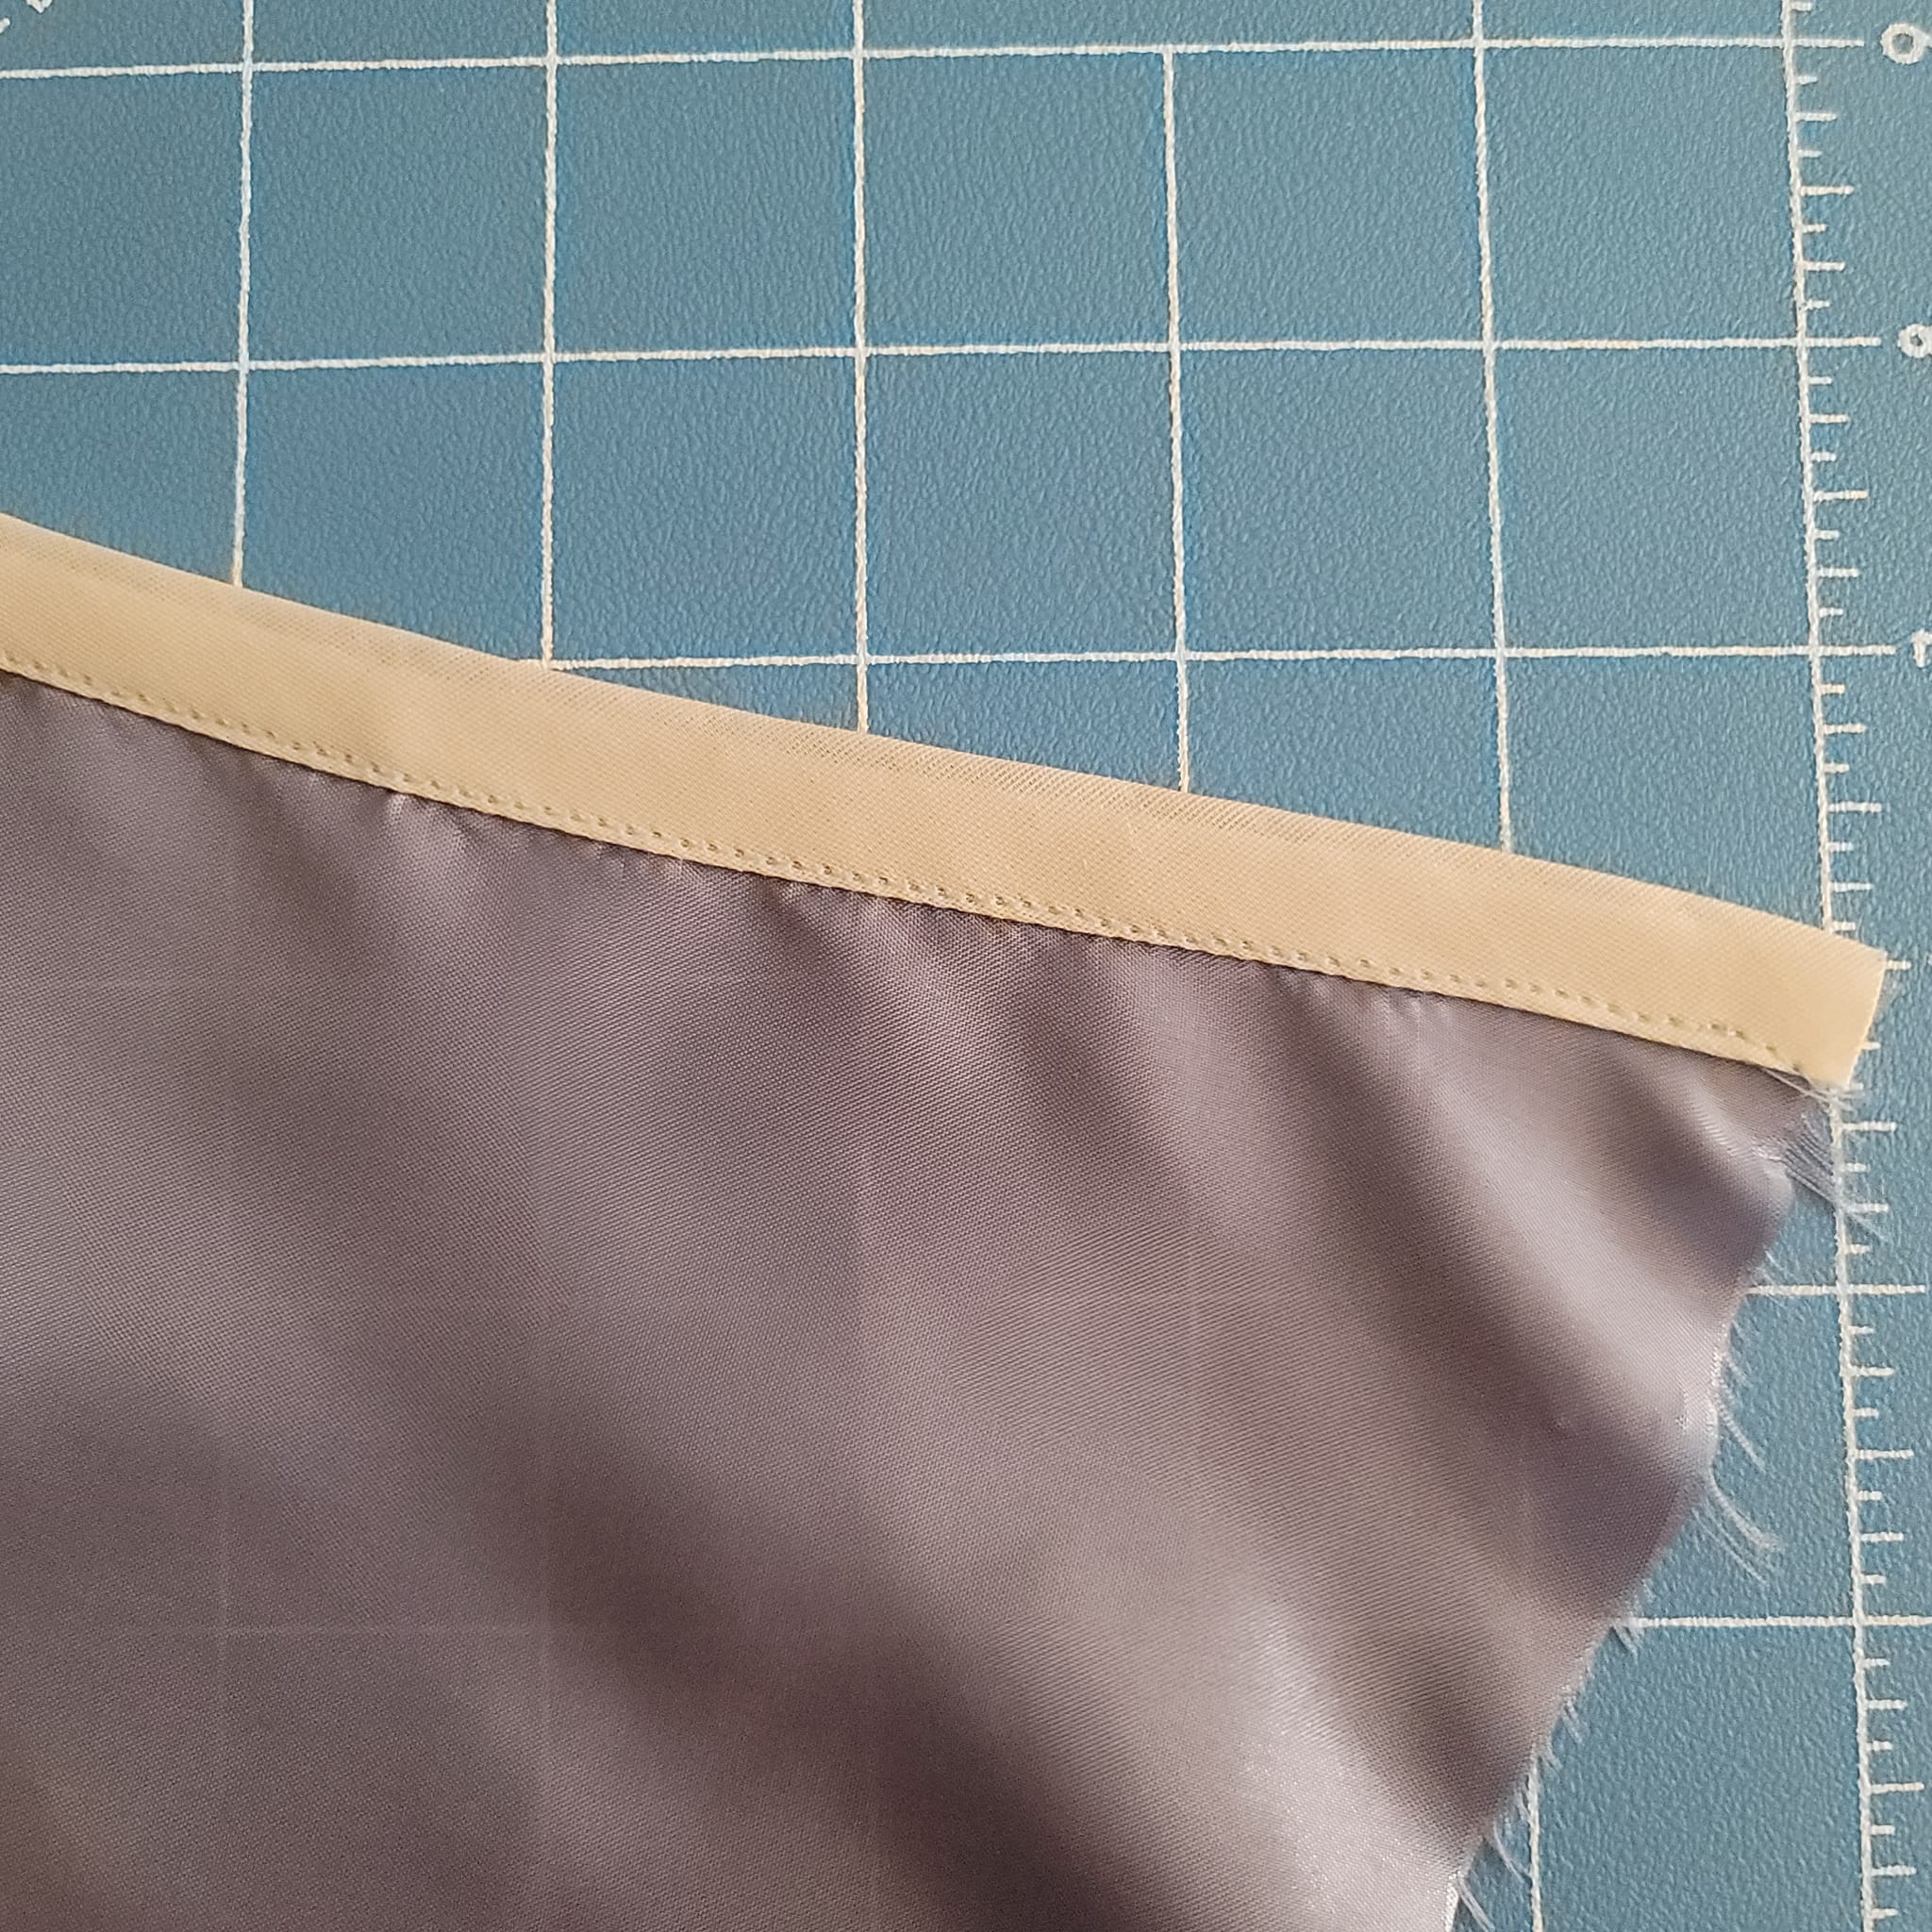
Time to improvise as I don't have enough fabric for the left side placket for closures. What I do have is some wide single fold bias binding in white. I've cut two lengths an inch longer than the side opening. One length is pinned right side of the binding to the wrong side of the left side back.

The folded edge of the binding is exactly the same width of my 3/8" seam allowance which is a lucky break. I stitch down the binding fold to where the opening ends.

Then the binding is folded to enclose the seam allowance, wraps to the right side of the fabric, and where the other folded edge of the binding will now meet the stitching just finished.

Move next photo here
The binding is pinned. It can be handstitched for an invisible seam, or, as I did, topstitched using the zipper foot.


For the front placket edge I used the same bias binding pinning the right sides of the binding and fabric together. This was machine sewn 3/8" from the edge.

Different from the back portion of the placket, the binding and seam allowance are folded to the inside along the stitch line, pinned, and topstitched.


To hold the placket in place, the bottom of the overlap is stitched from the previous topstitching to the seam.

The location of snaps is marked and the snaps sewn.


A 3/8" seam allowance is pressed into the upper edge and both leg openings. The raw fabric edge is turned to the press line, pinned, and topstitched using the zipper foot. This narrow hem on the upper edge is different than called for in the pattern directions but was my finish of choice for all previous 1930s underthings and works well with this lightweight fabric giving a bit of structure to the edges.

All that is left are the shoulder straps. They are sewn right sides together along the long edge, turned right sides out, and pressed. They are attached to the upper edge as marked on the pattern adjusting the length for my fit. The ends are turned up to the inside and then handstitched along the topstitching line with a small tack at the upper edge.


A Finished and Fun 1930s Combination Underwear
The Early 1930s Combination Underwear is finished! It's cute and those godets are so fun with that touch of blue!


And for those of you following the full 1930s Wardrobe sewing, this is the last of the 1930s Underthings. I've left blog post and video links for each individual make and I'll add this make to the playlist.
YouTube 1930s Wardrobe Playlist:

Next up will be the fun, casual day wear creations. Thank you for being here and until then...
Love always,
Jeanette

The Historically Sew Monthly - April 2023 - Opposites Attract
The Challenge: Challenge yourself to make something that uses two or more colours which you would not normally use together, or colours which "clash" to the modern eye.
What the item is: Early 1930s Combinations
How it fits the Challenge: Using remaining fabric pieces from previous sewing projects, the colours are a warm and cool and directly opposite each other on the color wheel. But only I will see them along with my very close friends and now all of you reading this. ;)
Material: China silk and silk crepe de chine.
Pattern: Wearing History Early 1930s Combination Underwear
Year: Early 1930s
Notions: Snaps, thread, bias tape
How historically accurate is it? Pattern is very accurate and use of bits of available materials and notions is also very accurate.
Hours to complete: 6 hours - only because I'm dreadfully slow at sewing snaps.
First worn: Ready for the next 1930s/1940s event.
Total cost: Fabric was bits from previous projects as was the bias tape. $2.50 for snaps.


