.jpg)

YouTube Companion Video: https://youtu.be/REfRLothorQ
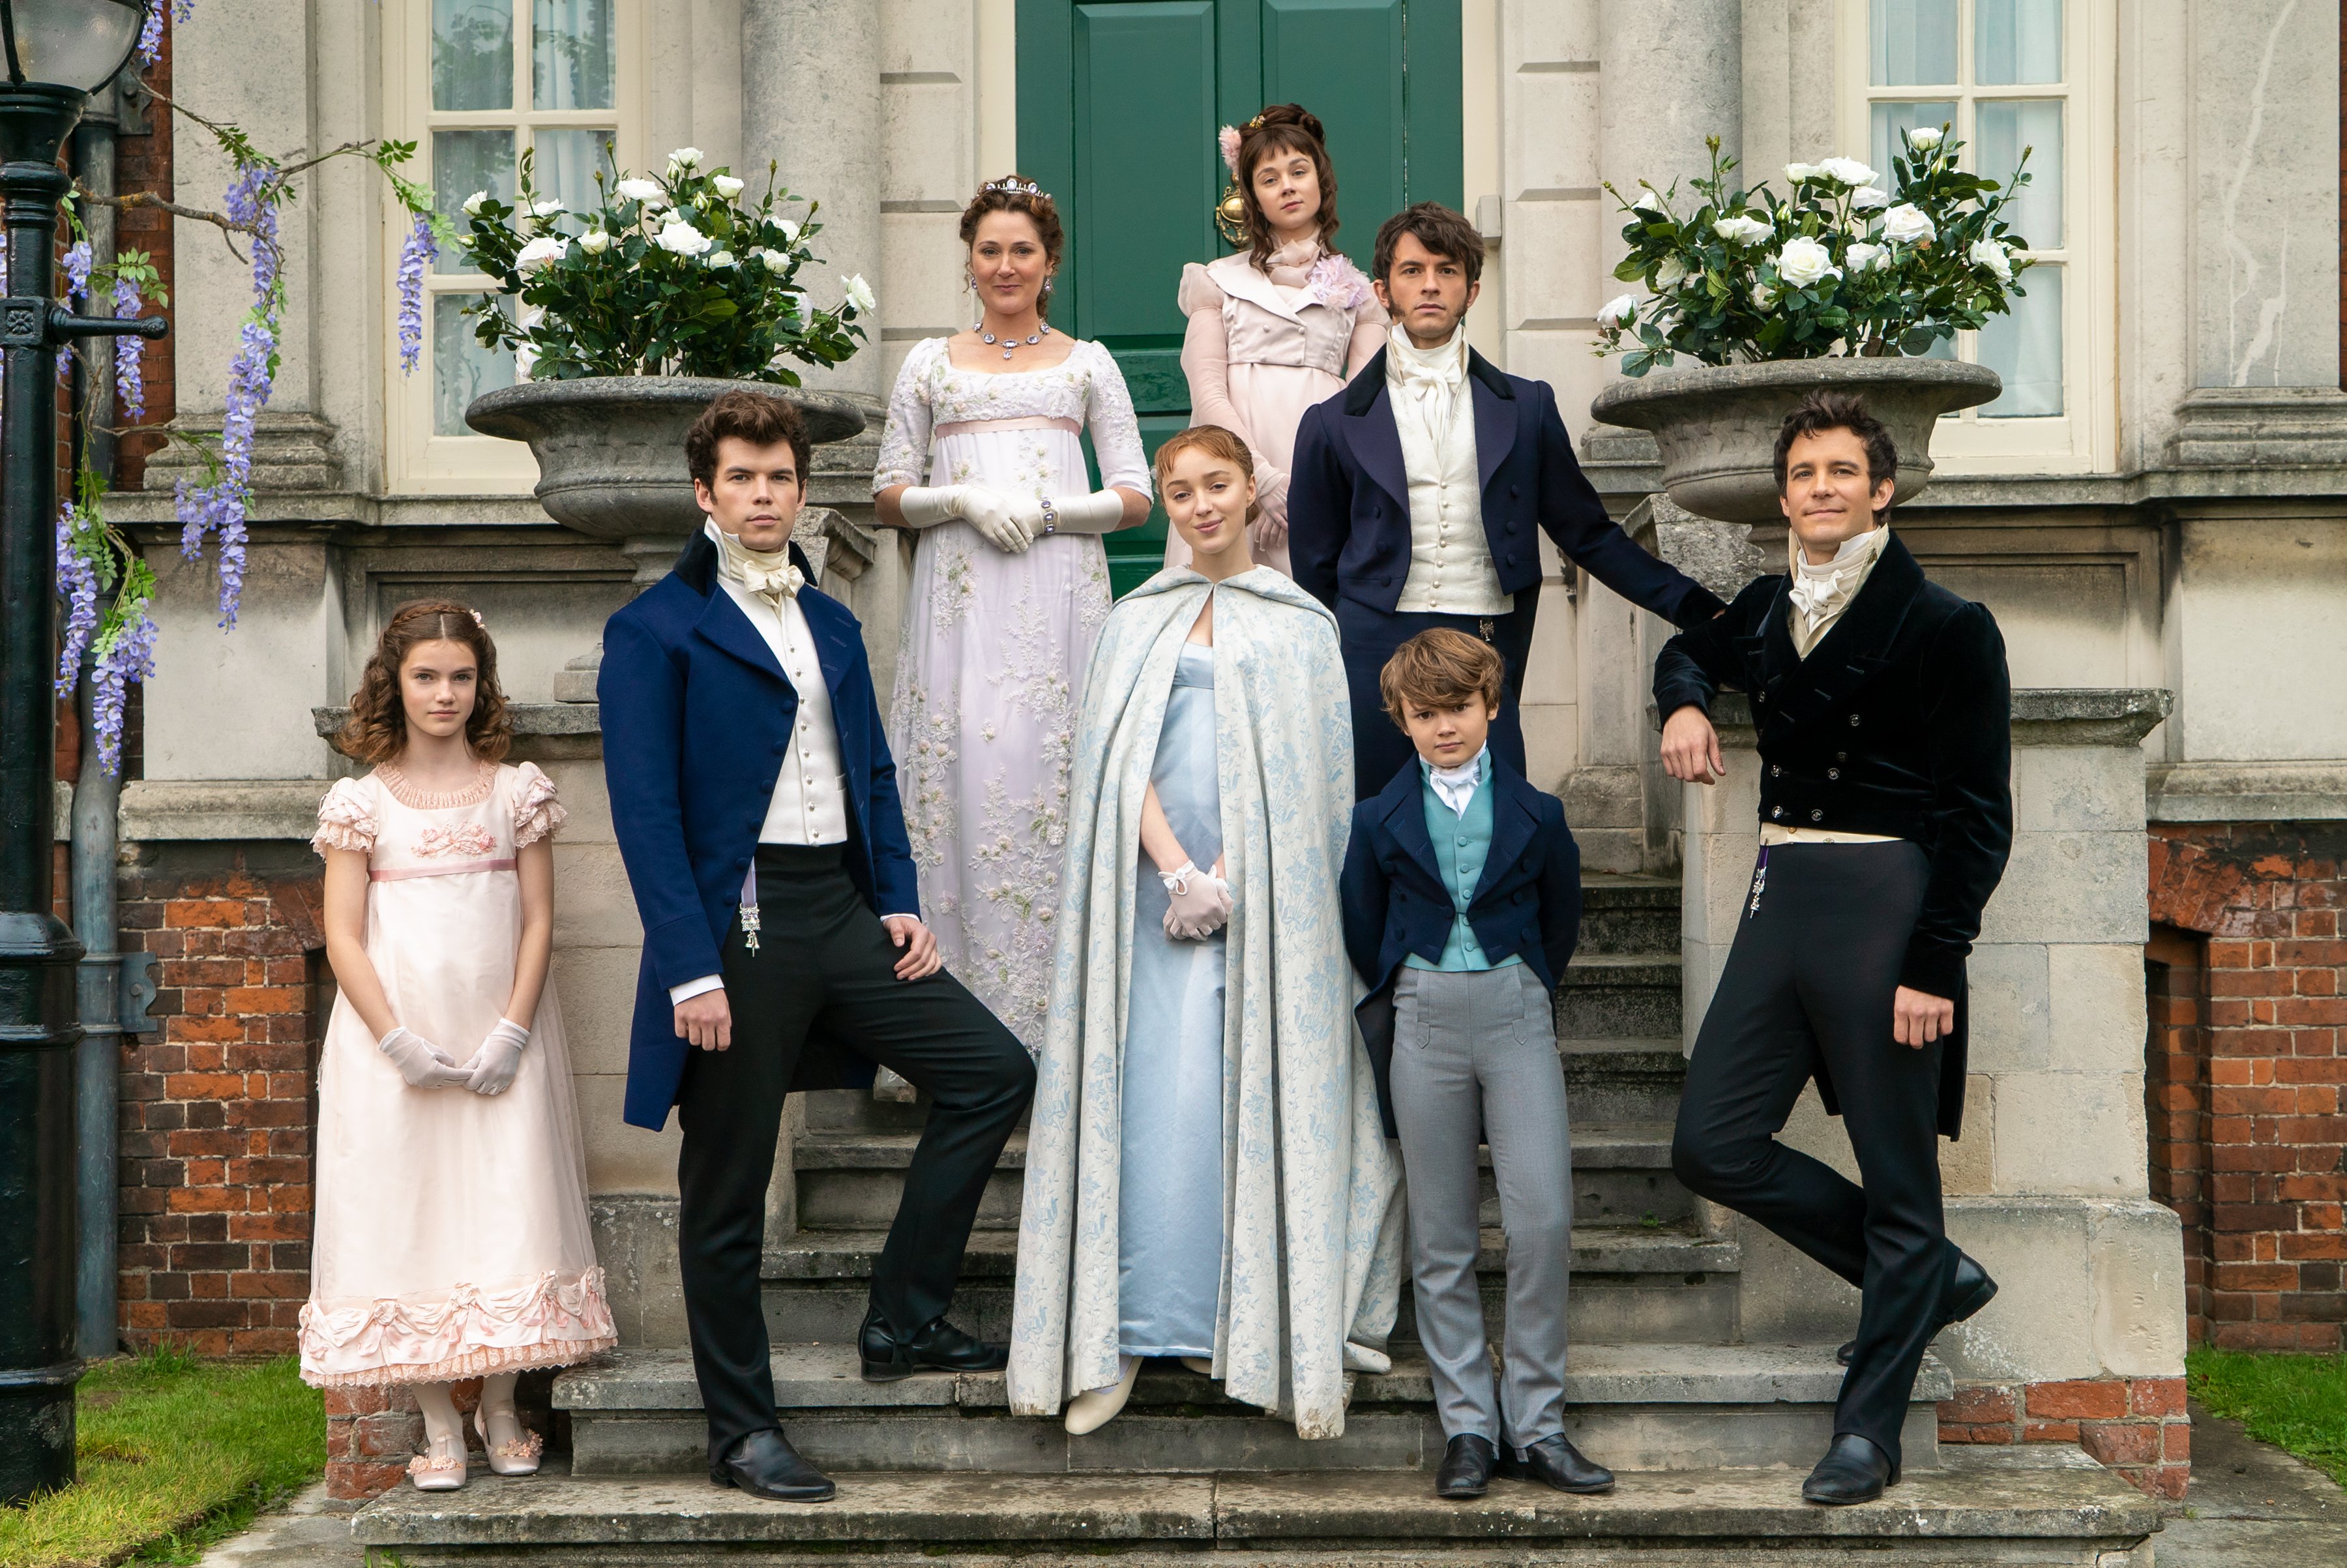
Julia Quinn's book series of the eight Bridgerton children was the inspiration for the Netflix series.


The costuming of the Bridgerton series inspired makers and event organizers the world over through all levels of interpretation; historically accurate, historically adequate, historically adjacent, and complete creative fantasy.

Pattern makers were inspired as well and when Simplicity offered S9434 I was inspired to create a Featherington-style gown for a weekend that would include a garden tea party and an evening at The Queen's Ball, A Bridgerton Experience in Atlanta, Georgia.


The blog post for the Garden Tea Party gown and accessories: http://theperfecttouchvictorian.blogspot.com/2022/07/
The companion blog post: https://www.youtube.com/watch?v=Uaqz5ny56dc


For the Queen's Ball I'm completely inspired by and completely in love with this ball gown worn by Lady Danbury in the Netflix series.

I manage to find a tiara with a similar silhouette and now it's time to sew my Bridgerton Ball Gown.

The Pattern
Simplicity Patterns to the rescue with another offering, S9502. This pattern includes the base gown and jacket with such wonderful options as bodice overlay with waist points, beribboned sleeves, overdress with collar, short or long sleeves and chemisette. The pattern is perfect for creating your own unique Bridgerton wardrobe.

I choose View B, gown with overdress and luscious standing collar.


As with all Simplicity patterns I've used, there are complete General Directions for cutting and sewing all base pieces and options with excellent illustrations.

I rough cut each pattern piece.

Then I choose those pattern pieces I will use for my gown and overdress and trim them to the size I will need and return the unused pattern pieces to the envelope in their rough cut state.

The Fabric
I've had a 3 yard remnant of a silver metallic synthetic which I think will be a perfect fabric for this gown. It has a great structure and a lot of sparkle which is exactly what I'm looking for.


The fabric for the overdress is a from a yardage of imperfect embroidered net. It needed a lot of love and handsewing in places when I used it for an 1880s ball gown. That gown was fashioned for an Historical Sew Monthly Challenge and began as a deconstructed prom dress. I made the underskirt with the embroidered net overlay and finished with a beaded sari and pieces of the original prom dress. There is enough of the embroidered net to create the Bridgerton overdress although the skirt portion will not be as full as insructed but will still be beautiful, I think. I hope!


The Gown Pattern Pieces
The gown fabric for View B is cut from the following pattern pieces. The bodice is three pieces: Back #3, Side Back #4, and Front #1 cut on the fold.

There is a one-piece long Sleeve #10.

The skirt is a Front #8 piece cut on the fold, and a two-piece Back #9.

Sewing the Gown
Using a Frixion heat-erasable pen, I transfer the markings for the bodice darts, connect the dots, and sew and press the darts. I staystitch the neckline edge.


The backs are sewn to the fronts at the sides and shoulders.


The pattern instructions allow for a full gown lining but I decide to only line the bodice and allow my petticoat to serve as the lining for the skirt. I sew the lining from a cotton exactly as I've already sewn the gown bodice.


The bodice exterior and lining and sewn right sides together at the neckline edge. After pressing and clipping as necessary, I understitch the lining and seam to prevent the lining from rolling over. The instructions for this step are clearly written and illustrated in the pattern.
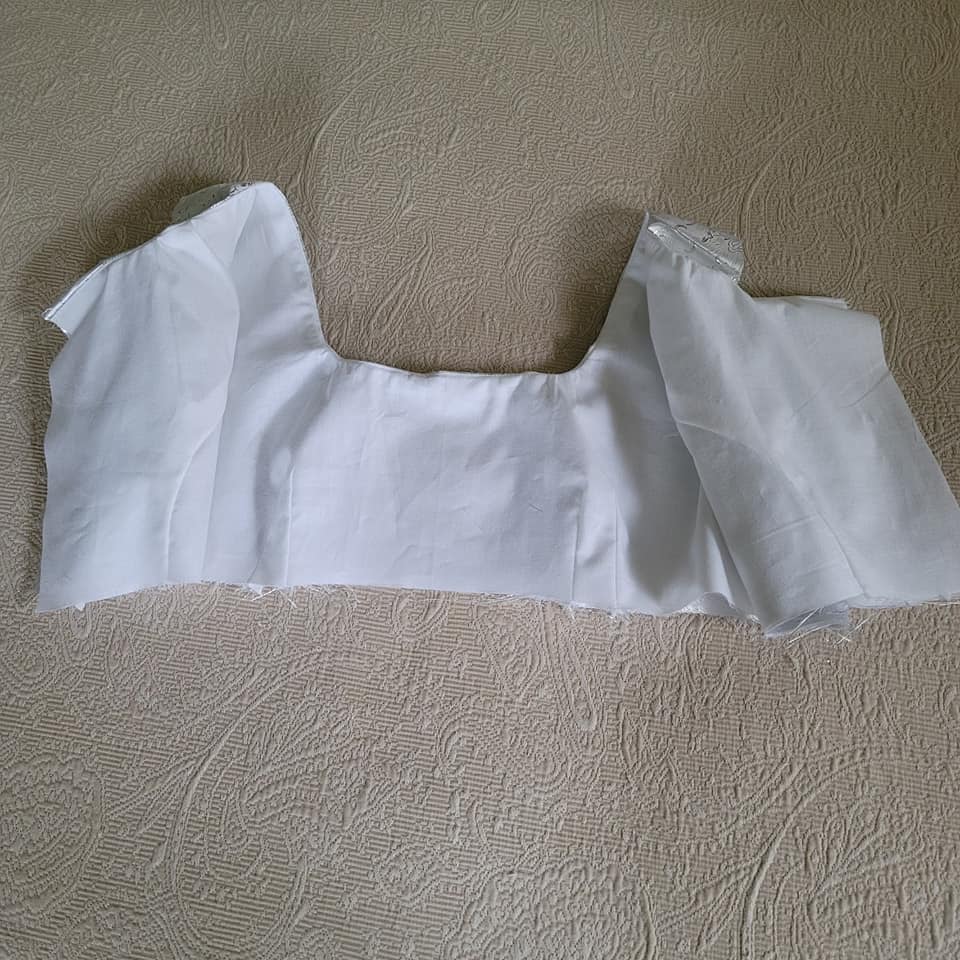

The armhole fabric and lining, back edges, and lower edge are basted together.


Since my sewing space is tiny, I decide to tackle the sleeves before I attach the skirt to the bodice.
Double rows of gathering stitches are sewn to the tops of each sleeve.

The sleeve seam is sewn, pressed, and the sleeve turned right side out.


And repeat.

The directions and markings for the sleeves make the process easy and the gathering insures an easy fit.


I will use a zipper in this gown for ease in dressing myself. The gown can easily be fitted with a buttons or hooks and eyes closure. I sew the skirt backs up to the mark which will be the bottom edge of the zipper.

The skirt front has been cut on the fold.

The skirt back is sewn with gathering stitches at the upper edges. The back is then sewn to the front at both side seams. The back of the skirt is very full while the front is more flat.
.jpg)

As you have seen, after prepping the skirt I decided to add the sleeves to the bodice before I attached the skirt. I've learned to make adjustments in my tiny sewing space.


The skirt is sewn to the bodice with side seams and back center edges matching and the back fullness fitted by pulling and adjusting the gathering stitches.


The gown is hemmed. The sleeves are hemmed and a silver metallic gimp trim sewn at the wrists.


A zipper is sewn in and a very blingy zipper pull attached to assist when dressing alone.


The Finished Gown
The gown is finished!


The Overdress Pattern Pieces
The overdress bodice has a Front #11, a Back #12 which is also used for the jacket, and a Side Back #13 which is also used for the jacket.

The Skirt uses pattern piece #9 which was also used for the back of the gown. Because I had limited fabric, I cut this to be a single piece as wide as possible for the overdress where I had cut two pieces for the gown.

The Sleeve #5 and Sleeve Binding #6.

The Belt #14.

The Collar pieces #15, #16, #17, and #18.

Sewing the Overdress
Cutting the pieces from the limited fabric took a bit of planning and rearranging. The fabric has a designed finish on both edges and that allowed me to use that edge on the lower edge of the skirt.

The fabric was positioned over the bodice pieces and cut to highlight the embroidery to best display.

The bodice pieces are sewn together Side Back to Back, and then Backs to the Front at the sides and shoulders. French seams are used because of the transparency of the fabric. This technique is explained very well in the Simplicity pattern instructions.


The silver gimp trim is sewn over the seams joining Side Backs to Back to emphasize that historical design element.


The limited fabric allowed for the sleeves to be cut using the finished edge. Yay! This will also eliminate use of the sleeve binding pattern piece. Gathering stitches are sewn where indicated at the top edge of the sleeve.


The sleeves are sewn with a French seam.

The sleeves are sewn to the bodice with a French seam. This takes a bit of care as French seams can be difficult to sew around curves, but the care pays off.
.jpg)

I'm so glad there was enough of the finished edge fabric to use this edge on the sleeves!


And I love the embroidered net over the silver gown.

The silver gown fabric is used to create the belt.

With the skirt and belt pinned on the dressform, and the silver trim draped to determine the final effect, I start work on what inspired me to create the Lady Danbury gown - the standing lace collar.

I would love to use the fabric finished edge on the collar with as much of the embroidery uncut as possible. The pattern pieces are a Front, Side, and Back each cut twice. I pin them together and test if I can create the collar in a single piece using darts to create the curve.


There is enough of the fabric to use the finished edge and I'm stunned and very very happy.

And here the project stalls. Most of the time I'm confident (enough) in my costuming knowing that it's just fabric and thread and patterns and most mistakes can be somehow fixed. I've attended events and danced and participated in costume contests. But that confidence has been eroded by recent happenings in the costuming community and I'm shaken. Who do I think I am being inspired by and creating a gown a bit like the gown worn by Lady Danbury? Who cares about my sewing? Who cares about my blogs or videos? I'm not in a positive state of mind.

But the answer is: I care. My hobby brings me happiness. So while im on that brief note of positivity I think that maybe eliminating the standing collar will make the gown (and me) shrink into the background just a bit. I turn to others in the social media community and poll their opinions on the standing collar.


The standing collar wins and I quickly finish it knowing that there are some who are interested enough to take the time to respond to my poll and that was a nice incentive.

The French seam.

I sew the silver gimp trim to the bodice front edges and around the back of the collar which gives added support to the standing collar.


With the bodice complete I can attach the skirt. The top edge of the skirt panel is sewn with gathering stitches and the silver gimp trim is sewn by hand to finish the edges of the overdress opening.


The skirt is gathered as necessary and sewn to the bodice with a French seam.


The belt is lightly tacked to the back, front, and side seams of the overdress. A tailor's hook and bar will close the belt and a brooch with plenty of sparkle is pinned to the center.


The Finished Bridgerton Gown and Overdress
And with that, the Bridgerton gown and overdress are finished!

.jpg)


And sunlight. What a beautiful gown this could be for a Regency period wedding!


And ballroom lighting.


The Rest of The Story
With both gowns ready for the Garden Tea Party and the Queen's Ball, I was excited to add this adventure to a weekend which included the Corsets & Cravats Conference in Newberry, South Carolina. Then my travel partner's plans changed and the 5-hour drive to Atlanta was more than I could handle at this point of my leg injury rehab.

But it was so exciting to be a fairy godmother and allow someone else to take my place at the Queen's Ball and this lovely lady had an extraordinary evening!

I celebrated her enjoyment with a Bridgerton Tea Party at home.


I include the 4-day event in a 2-week Summer Adventure and know exactly what I will wear to the Gala - yes! - this gown and overdress! Mark Edwards, the extraordinary photographer for the full Costume College event, is excellent at bringing a smile to even the most tentative of costumers which was certainly my state of being that evening. i avoided the Red Carpet but I did dance the traditional Gala opening dance! Time Warp from the Rocky Horror Picture Show.


Can you imagine dancing in this sparkling Bridgerton-inspired gown and wearing a tiara?
From Rocky Horror Picture Show: https://www.youtube.com/watch?v=-w0WPkB3XJ4&t=3s
Thank you for sharing this diary with me!
Hugs!
Jeanette


Appreciated!
ReplyDeleteThis article is amazing. It helped me a lot. Please, keep up the good work. We are always with you and look forward to your new interesting articles.
ReplyDeleteCURTAIN TAILOR near me
I am glad that you just shared this useful info with us. Please stay us up to date like this. Thanks for sharing.
ReplyDeleteMade to Measure Prom Dress Luton & Hitchin