.jpg)

When you hear the word "housewife" does this image come to mind?

Or maybe this?

If you are involved in historical costuming you will absolutely be thinking of these!

And even if you aren't involved in the costume community I hope that after today you will think of these beauties as the handy, versatile, and personalized kits they can be for storing anything you can imagine.
I'm going to share two different housewives, or hussifs as they are also called. The first is from the Etsy shop of Lady Detalle,

and the second from the Etsy shop of Willoughby and Rose.

Both shops offer a variety of unique products for both the costumer and non-costumer alike.
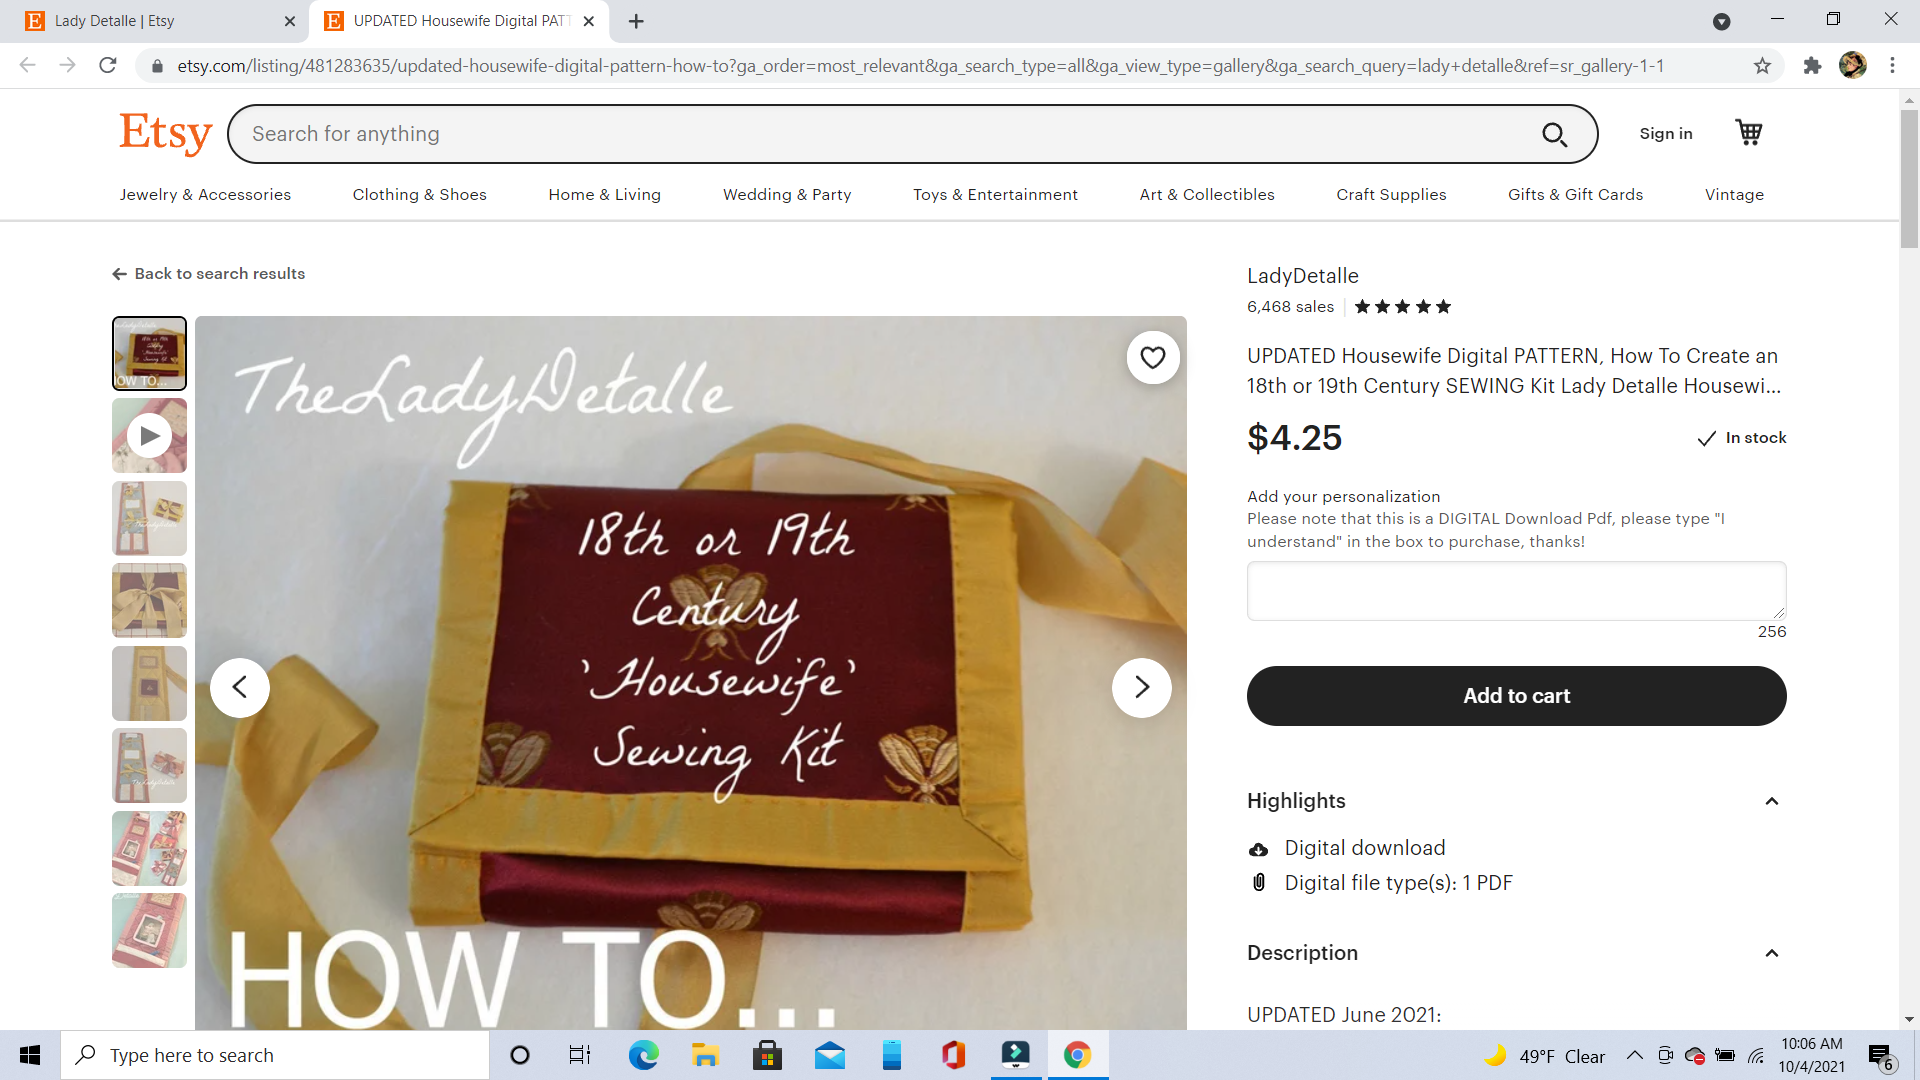
Lady Detalle on Etsy
The 18th or 19th Century Housewife Sewing Kit is available in the shop in both printed and pdf format. I love the ease of pdf patterns and this one is especially nice as I can just follow instructions right off my computer on the sewing table.

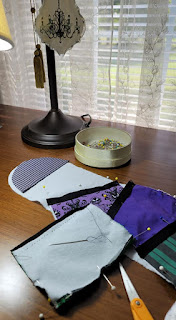
It is now autumn and I pull some small remnants of fabric and ribbon that I think will work well together.

The base of my hussif will be a layer of an embroidered blend, an inner layer of batting, and a layer of silk.

I've laid out the embroidery in a way I think will be beautiful when the hussif is closed and this gorgeous floral motif will be highlighted.

The three layers are then bound on all sides with a strong satin poly ribbon using a matching thread and a slipstitch.


At the upper edge will be a needle holder and I create those with ivory-colored felt and a scallop pinking shears.


The next section is a thread spool holder. Although I've used all the burgundy ribbon I do have an ivory ribbon and choose that for the spool holder.

The third section is a scissor holder. I choose an embroidered fabric section backed with a piece of the ivory felt. The scissors will be tied in place with another piece of ivory ribbon.


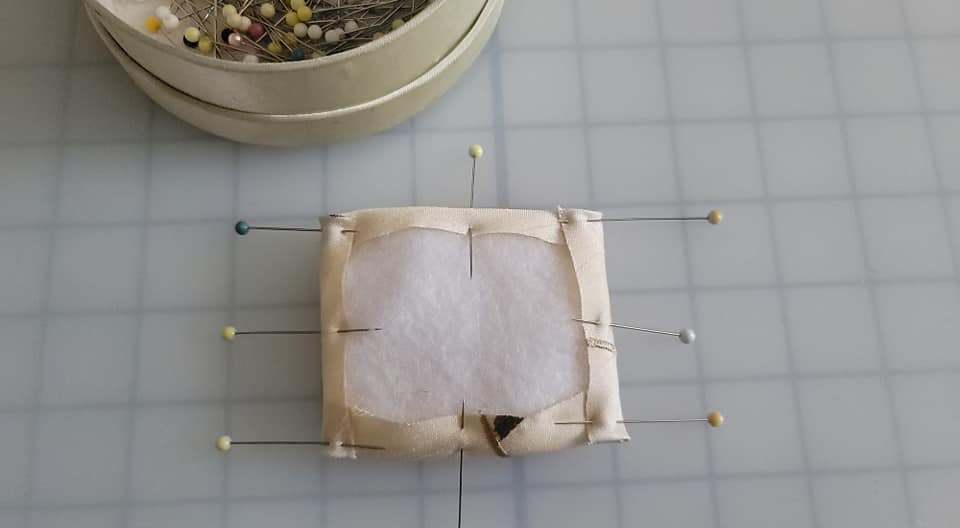
Next will be a pin cushion. Again created from a piece of the embroidered fabric but with minimal embroidery and layers of batting.


The bottom section of the hussif has a pocket. Again I choose an embroidered section and will back the pocket with the ivory felt.


Also time to cut additional ivory ribbon for the tie closure.

With each position marked with pins the final assembly can begin.
First the needle holder is stitched in the center of the upper edge.


The pincushion seam allowances have been turned under, pressed, and basted at the corners over the batting. Some smaller pieces of batting have been added to raise the center of the pincushion. The seam allowances have been turned under and pressed on both the scissor pocket and lower pocket. Then the ivory felt backing is whipstitched to the fabric at the edges.


The pincushion is placed in position and stitched around the edge to the base silk with a slip stitch.


The scissor pocket is positioned and stitched to the base silk with a slip stitch. The scissors are placed inside the pocket and the ribbon position marked. The ribbon is stitched to the silk with a few stitches and the scissors can now be securely held in place with the ribbon in a knot and bow.


All interior pieces are in place and the hussif can be folded.


The ribbon used for closing the hussif is pinned in place and a tiny ribbon rose used to cover where the ribbon is stitched to the hussif.


The Willoughby and Rose Leota 18th Century Housewife/Hussif Kit
The kit from Willoughby and Rose has everything ready and prepped for sewing. Instructions, all fabric pieces and lining cut, binding and ribbon, needle and pins on wool, and an organza bag with thread winder, thread, and the cutest beeswax bat.


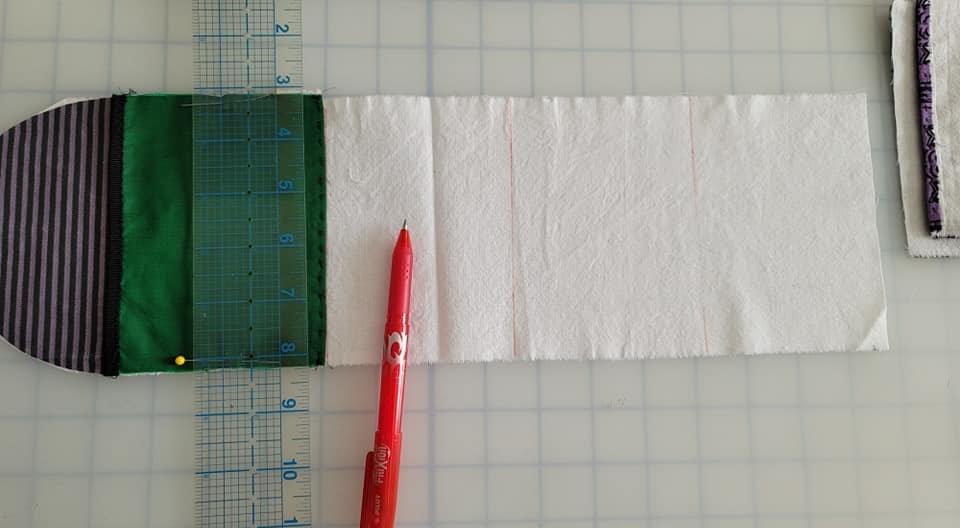
The bottom of the upper curved section and the bottom of each pocket is hemmed with a running stitch.


The first step is to bind the top of each pocket with the supplied petersham by stitching both the front and back.


The bottom of the upper curved section and the bottom of each pocket is hemmed with a running stitch.

Now the fabric pieces are ready to be stitched to the main lining with the top of each pocket overlapping the hemmed portion of the section above.


A mark is made on the lining at the bottom of each section. Then each section is whipstitched into place along that mark 8-10 stitches per inch.


The outer fabric is aligned with the finished pocket section and the edges clipped and ready for basting.


The assembled hussif is basted all the way around.


Now it's time to sew the binding to the edge of the hussif front and then back with slip stitches.


The ribbon tie is folded in half and whip stitched to the outside top center.

And the Willoughby and Rose Leota 18th Century Housewife/Hussif Kit is completely sewn and ready for any use I have on any day.


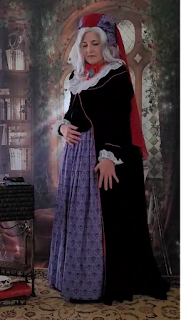
And on this particular day I choose tea and chocolate! And this hussif goes perfectly with the outfit I'm wearing today.


Until next time!
Hugs!
Jeanette
Companion YouTube Video Here: https://youtu.be/Wau-KhzPsEM
Historical Sew Monthly - September 2021
Closures - This one is all about how you fasten a garment. Try a new type of closure you've never done (time to tackle dog-legged plackets, hand sewn eyelets or pinning your self in?) or make something where the focus is on the fastenings.
What the items is: Sewing Kit or Hussif
How it fits the challenge: Simple closures often used in historical and modern garments - ribbon ties!
Material: Cotton, silk
Pattern: Lady Detalle on Etsy, Willoughby & Rose on Etsy
Year: 18th/19th Centuries
Notions: Ribbon
How historically accurate is it? Multiple uses over many decades
Hours to complete: 5 hours each
First worn: One was a gift, the other worn in October 2021
Total cost: $35


No comments:
Post a Comment