.jpg)
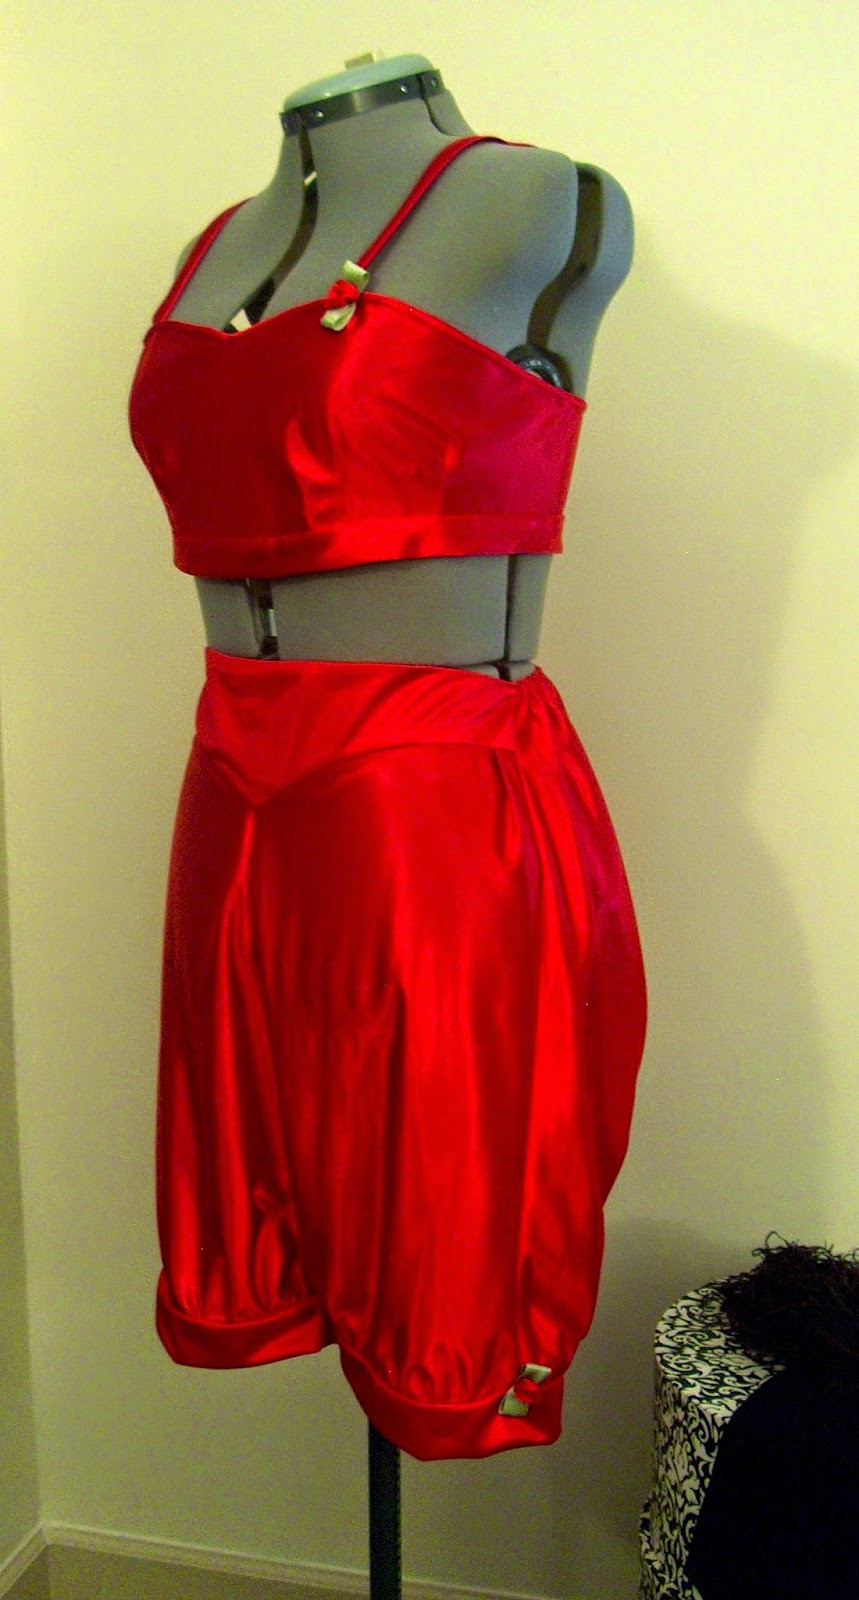
Last October, in preparation for creating a 1920s costume, I made a brassiere and bloomers and wrote this post:
The pattern I chose was from Reconstructing History. Their RH1234 was available as a downloadable e-pattern which is wonderful when you don't want to wait for the mail.


Then I added the gores.

It is optional to place three bones across the front which is what was in the original corset from which the pattern is based, so in historical correctness I added channels and boning to the front piece.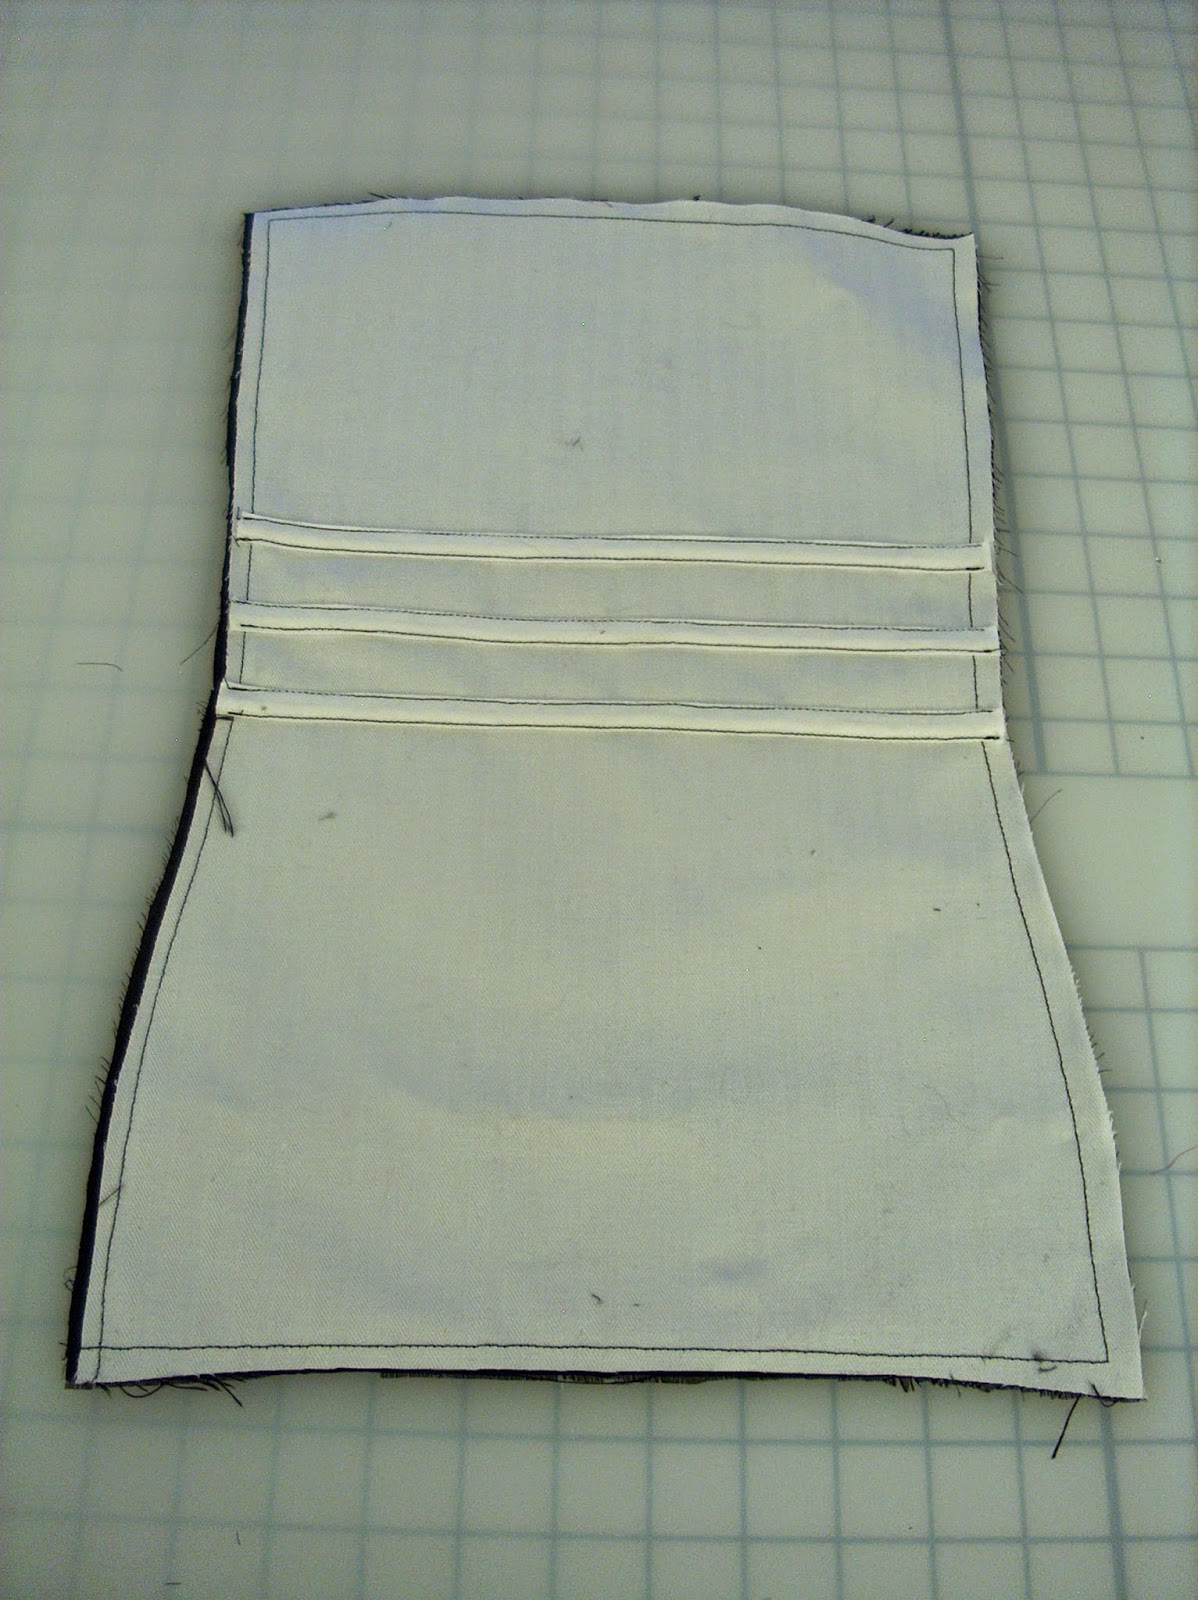
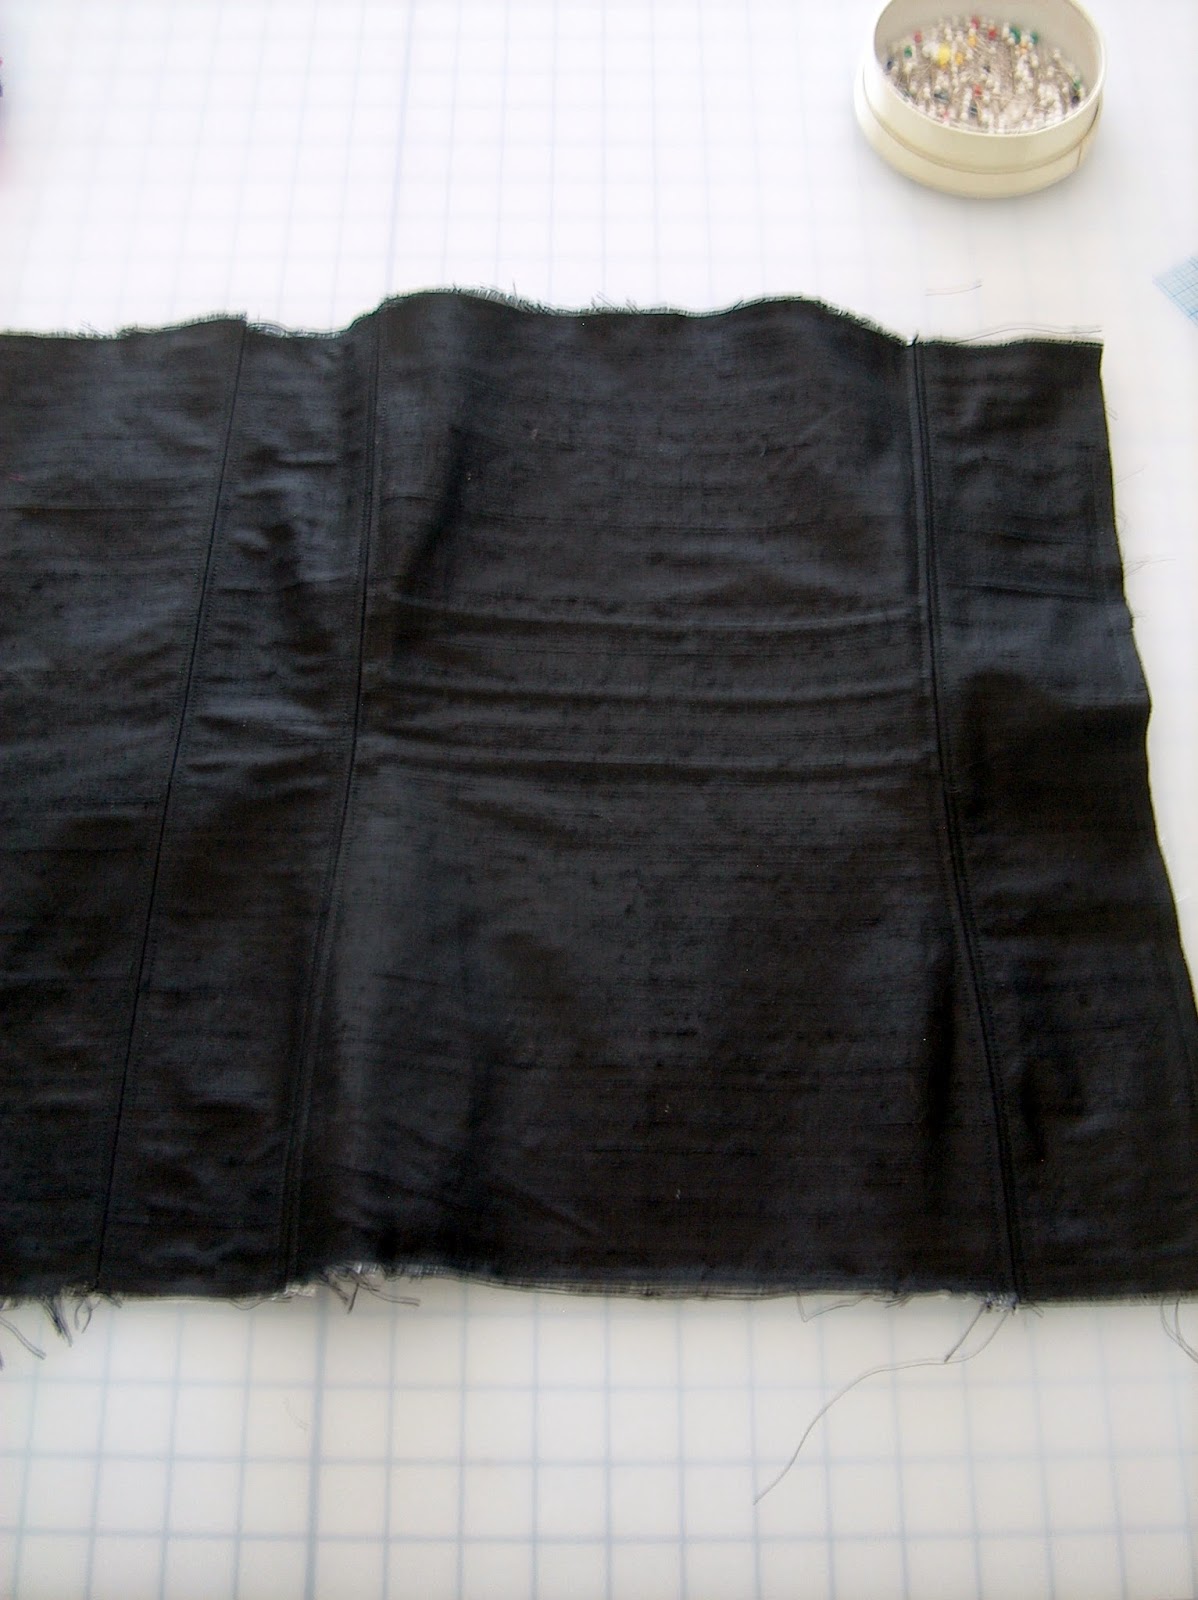
With the corset fitting perfectly now, I finish the corset with a silk bias strip on the top and bottom edges and both of the side closure edges. I then made and added the straps which I made quite a bit longer and wider than the pattern recommended. I had some hook and eye tape on hand and used it for my closure.


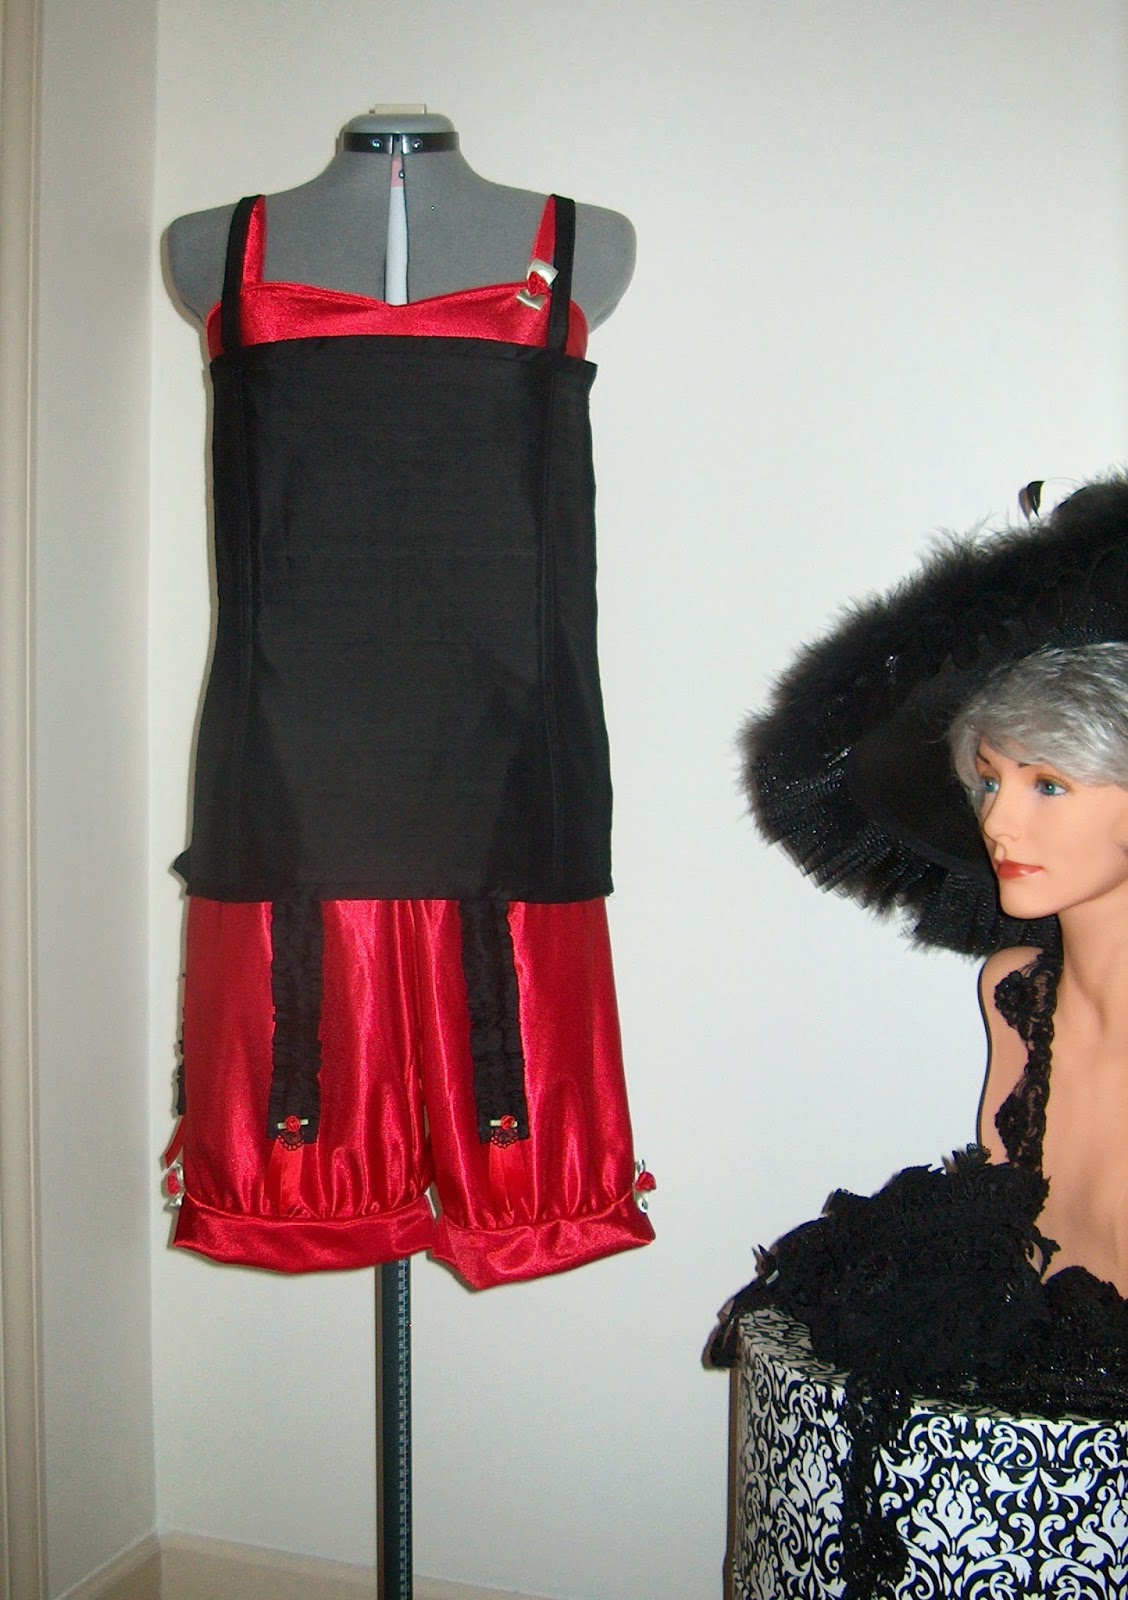
The corset is finished as far as the pattern instructions, but I want to create stocking garters. When I made the 1910s corset I made simple garters by cutting four pieces of fabric 4" wide by 14" long. I sewed a tube with a 1/2" seam, turned the tube right side out, pressed the tube with the seam down the center back. I turned the lower edge in 1", then sewed 3/8" from each edge along both long sides. I cut 1/2" elastic into 10" lengths, created a loop at one end, then sewed that end into the center opening 3/8" from the edge. I followed those same instructions for this corset and embellished the garters with some satin ribbon, lace, and a red rose that matched the roses I had made for the brassiere and bloomers.

The finished corset truly does create the right columnar silhouette and is very comfortable.


While I don't have any photos to share of me wearing these underthings, I do have a video to share of some ladies in a 1920s ad. In the video you can see how the stockings are held up by the garters slightly bunching the bloomers.https://www.youtube.com/watch?v=GFqXXif8Rp0
Historical Sew Fortnightly
What It Is: 1920s Corset/Corselette
The Challenge: #1 Foundations
Fabric: Coutil, silk dupioni
Pattern: Reconstructing History RH1234
Year: 1920s
Notions: Elastic, stocking garters, satin ribbon, hook and eyes
How historically accurate is it? The pattern was created from an original corset. The coutil and silk are accurate, the stretch lace for the gores and the hook and eye tape are not.
Hours to complete? 6 hours
First Worn: Party Like A Vanderbilt, Biltmore Estate Weekend, April 2015
Total Cost: $39.00
Off to learn the Charleston!
Jeanette


Very lovely! I think the lace gussets are FABULOUS! Thank you for the garter tutorial :)
ReplyDeleteThank you, Gabriela! I rather like the lace even though it isn't period correct. It has just the right "give" for movement and sitting. The garters are fun and you're welcome!
DeleteA lot of useful information packed in one post
ReplyDelete