Thursday, May 21, 2015

Historical Sew Monthly Challenge #4 - War and Peace - or - Champagne, Bee Stings, and Tears of Happiness

The Edwardian Era in the United Kingdom covers the reign of King Edward VII, 1901 to 1910.  Sometimes that era is extended beyond King Edward's death to include the years leading up to World War I in 1914.  The Edwardian Era stands out as a time of peace and plenty for Britain with widespread prosperity and no severe depressions.

King Edward was the leader of a fashionable elite whose style was influenced by the art and fashions of Continental Europe.  The fashion is characterized by a rich and exotic opulence in the first half of the decade 1910 to 1919 in contrast with the somber practicality of garments worn during the Great War.

One of the most influential designers of the time was a French designer, Jacque Doucet.  Pastel colors and elaborate gossamery dresses with fluid lines and flimsy diaphanous materials were a trademark of the House of Doucet.
It was this period of peace and the influence of Doucet's design that inspired my gown for an upcoming special occasion.
As I gathered my supplies from my stash I realized this gown could have qualified for the Historical Sew Monthly Challenge #3 - Stashbusting.  This is a pattern I've wanted to sew for a while and it fit nicely with my plan for a 1912 evening/dinner gown.
At Costume College 2014 I took the tour of the fabric district and a beautiful piece of silk called my name.  Honest!  I bought 4 yards (my budget limit) and just knew that someday this would be the base of a beautiful gown.  That someday had come!
Also in my stash was a beautiful piece of unknown content but it was exactly the right color for the underskirt.  It has tiny silver threads and shimmers when the light hits it even underneath the silk overdress.  $3.56!
For the Stashbusting Challenge I had used a crinkled cotton and still have yards left to use, so that will be the base for this gown.  I have a stash of beaded appliques and beaded trim and even if I have to use a combination of trims, I'm certain I have enough for the gown.  Time to get started.

The pattern view is deceptively simple, but the actual construction is not.  A boned corset bodice is first made with hook and eye closures.  The basic skirt is a simple construction, however.

Corset bodice with straps and planned trim.

 
Skirt with simple overlap opening which will be closed with snaps.


The skirt will eventually attach to the corset bodice above the waistline.
 
The underskirt with small train.
 
The overbodice with sleeves attached.

The back of the overbodice overlaps for closure.
 
The silk overskirt pieces cut and ready to be attached.


The silk overbodice is attached to a waistband.  Then the skirt, overskirt and sheer overskirt are attached to the waistband.  The entire piece is then attached above the waistline to the corset bodice.
 
I sew bias tape or strips of hem lace to the edges of the sleeves and overskirt for a solid foundation for the beaded trim.

Using a beaded belt I had in my stash, I add a beaded applique and lace tails.

I hand sew the beaded trim to the edges of the overskirt and bodice sleeves and add a beaded applique to the lower center of the skirt.
The 1912 evening/dinner gown is finished!


Most of the time when I finish sewing for a Historical Sew Monthly challenge I have to wait to include a photo of the gown being worn for an event.  But not this time!  The gown is finished on April 19th and on April 24th I leave for Biltmore Estate in Asheville, North Carolina.  I've organized a costumer's dream weekend with 6 costume events and I will be wearing this gown for the Saturday evening Downton Dinner in the Champagne Cellar at The Winery.  I'm excited!

But my excitement is a bit clouded by a bee sting in the Biltmore Gardens in the afternoon which leaves me feeling a bit off in the evening and the gown reveals the red streaks across my back as my body reacts to the sting.  But I manage to finish the banquet favors to be placed at the 30 seats for the dinner and make my way to the lobby for our shuttle to take us to The Winery.

Randi, me, and Lonna ready for a fabulous dinner!  Not a very vintage basket, is it?
I've treated the guests to a champagne toast and Patrick and I toast George Vanderbilt and his dream of bringing friends and family together in beautiful surroundings, and all the dreamers in the room!
And then the most amazing thing happens!  Everyone has gotten together in secret and treated me to a tea setting of Vanderbilt service for four!  I am so happy that the happiness brings on the tears!  It is a wonderful gift and I will always treasure the gift and this moment!
So I'm tearful with happiness again as I write this and there is a beautiful peace in finishing this gown and the beautiful weekend we all had together at Biltmore Estate.  But those details are for another post!
Love always,
Jeanette

Saturday, April 4, 2015

We Don't Need No Stinkin' Badges!

Whether you recognize the quote (and often misquote) from Treasure of the Sierra Madre, from the movie Blazing Saddles, or from the parody done by The Monkees, you will probably disagree.  Once you see badges in historic portrait and photos you will understand that we absolutely need stinkin' badges!  Okay, not stinkin' badges, but beautiful sparkling beribboned badges!

Later this month I have organized and will participate in a Biltmore Estate costume weekend in Asheville, North Carolina.  The attendees are coming from many different parts of the United States and some don't know each other.  I thought it might be fun to create a way of recognizing each other by a beribboned badge with the North Carolina State Flower, the dogwood blossom, in its center.  I found the perfect piece online, found a beautiful two-sided brown/aqua satin ribbon in my stash, and made 30 pin-backed ribbons which will be in the welcome bags for the attendees.

Two finished, 28 more to sew!

30 badges finished to be placed in organza bags.

Beautiful sparkle with a Swarovski crystal center.
For Costume College 2014 a small group of us had decided we would wear Edwardian court gowns to the Saturday evening gala.  I found a nice set of badges on ebay and some blue moire ribbon similar to that worn by the Royals in my grandmother's home country of Sweden.  While I didn't wear my badges and sash last year, I have another event coming up where that costume will be appropriate and since it was apparently Badge Making Week in my sewing room, I decided to finish my other badges as well.

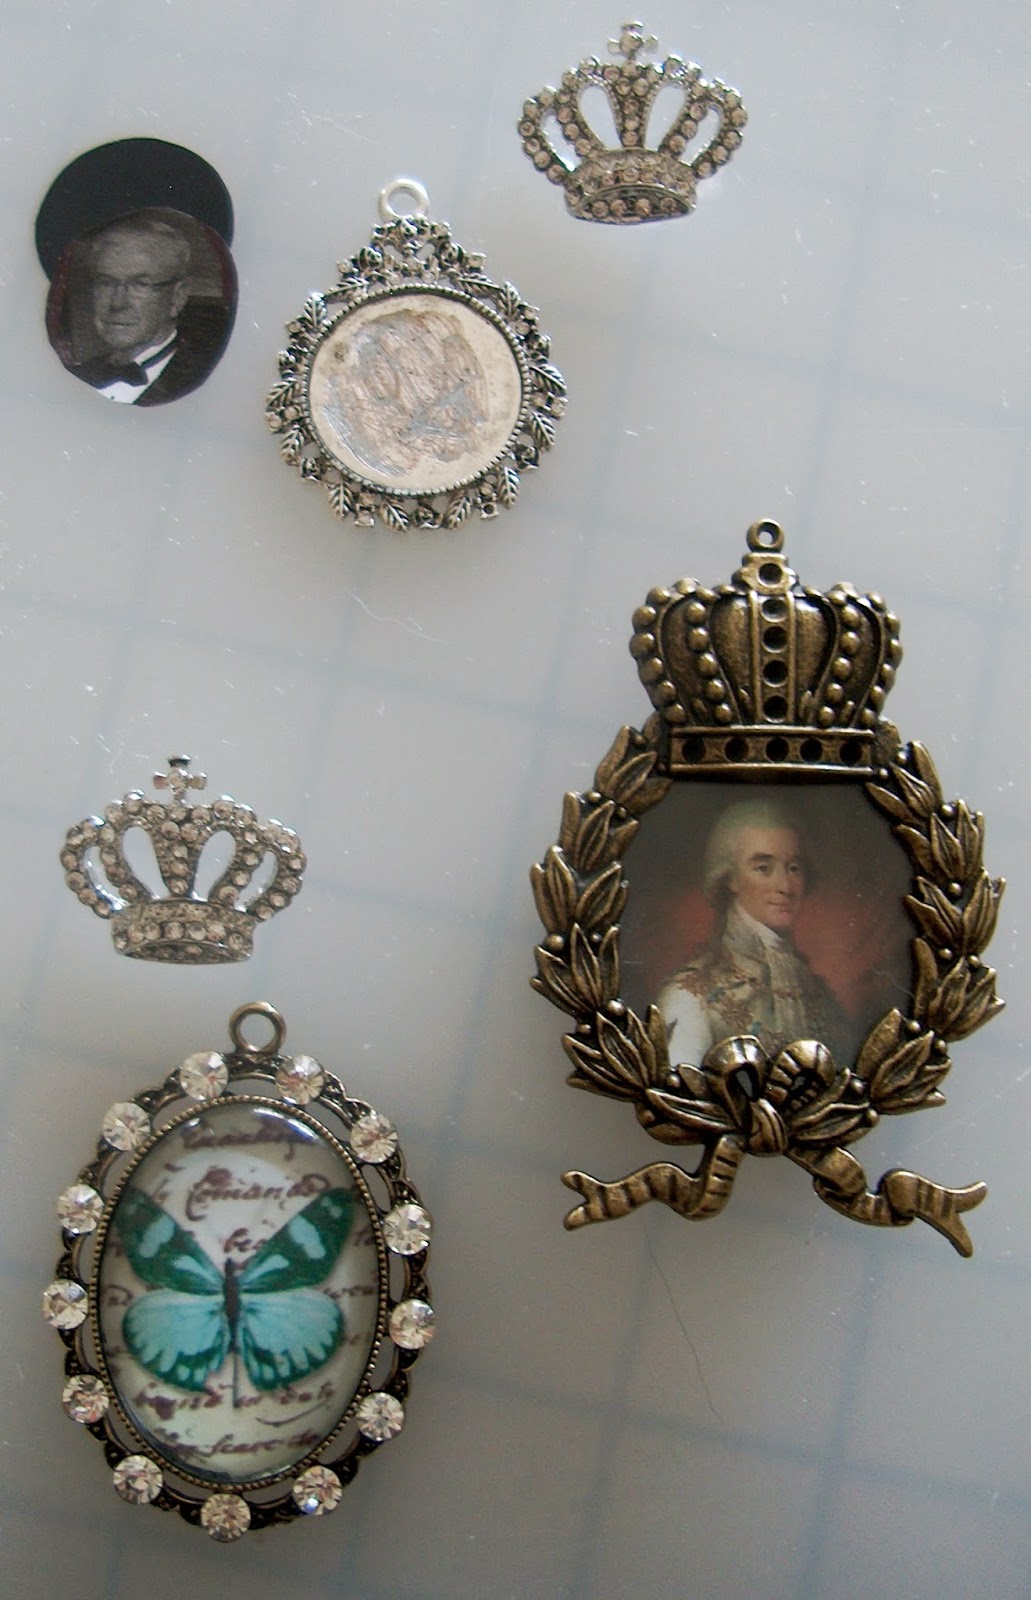
With inspiration from some wonderful costumers (thank you Gina White!) I made several Royal Family Order and fantasy badges from various buttons and findings from craft stores, some crystals and glue, ribbon, and pin backs.
The top photo is my husband who is the most important member of my personal family, the second portrait is Swedish Count Axel von Fersen, 1755-1810, friend of Marie Antoinette, and the lower jewel is beautiful as it is and I was afraid I was going to break it by trying to take it apart.

Here is my colorful and fun collection of badges!

In bright sunlight.

In very low light.
 The camera flash brightens every little crystal!


We'll call this one the "Order of the Dogwood" badge.  You're right!  It's the badge I made for the Biltmore Estate weekend later this month!
 
Love,
Jeanette

Sunday, March 29, 2015

Historical Sew Monthly Challenge #3 - Stashbusting

"No, I don't have a fabric/trim/accessories stash."
 
Said no costumer - ever!!  The minute you begin historic costuming a new life begins.  It starts with a little voice that calls out when you pass by the fabrics lining the walls of your favorite store and ends with plastic bins or rolls of fabric in a closet, under the bed, or in a huge pile in a corner of the sewing space.  It's inevitable and it's a testament to your creativity and commitment to this wonderful passion.  But time is your enemy and robs you of those moments (hours, really) needed to take that beautiful stash and turn a next-to-nothing into the fabulous something you just knew it could be!
 
The Historical Sew Monthly Challenge #3 was understanding of this phenomenon and gave us the opportunity to dive and dig into those corners and put together that fabulous something once and for all.  This is mine.
 
Starting with a Butterick Retro '12 pattern B6108 released in 2014 and loved by many.  I adored this pattern but started to hear some not so great reviews and immediately put the pattern into the pattern stash. (Yes, there is a stash for those too.)  Our local Hancock Fabrics built a new store last year and I had to stop to check it out (of course!) and found some interesting crinkled cotton at $1.00 a yard.  I bought all 24 yards and it went into the stash.  When a friend was destashing her fabric collection and offered a pewter and black taffeta remnant piece at a good price, I thought the crinkle in her fabric would be a great compliment to my crinkled cotton and I moved her little stash into my stash.  At least they could be together even if they didn't have a purpose.
 
Perhaps in a previous life I was a crow because I have an immediate attraction to little sparkly black things - buttons, beads, jewelry, appliques, trim - I buy it and put it into my stash.  Some day it will all come together.  I just know it!
 
And so it is that my project finally does come together with my Butterick pattern, the crinkled cotton fabric, the pewter and black plaid fabric, some vintage buttons and some modern but similar buttons, and a beaded collar that I have had for so long I don't even remember it's original home.
The crinkled cotton has to be flatlined since it is very lightweight and sheer in the right light and to keep the crinkles in place.  I've chosen the option with a single large collar piece on the right side.
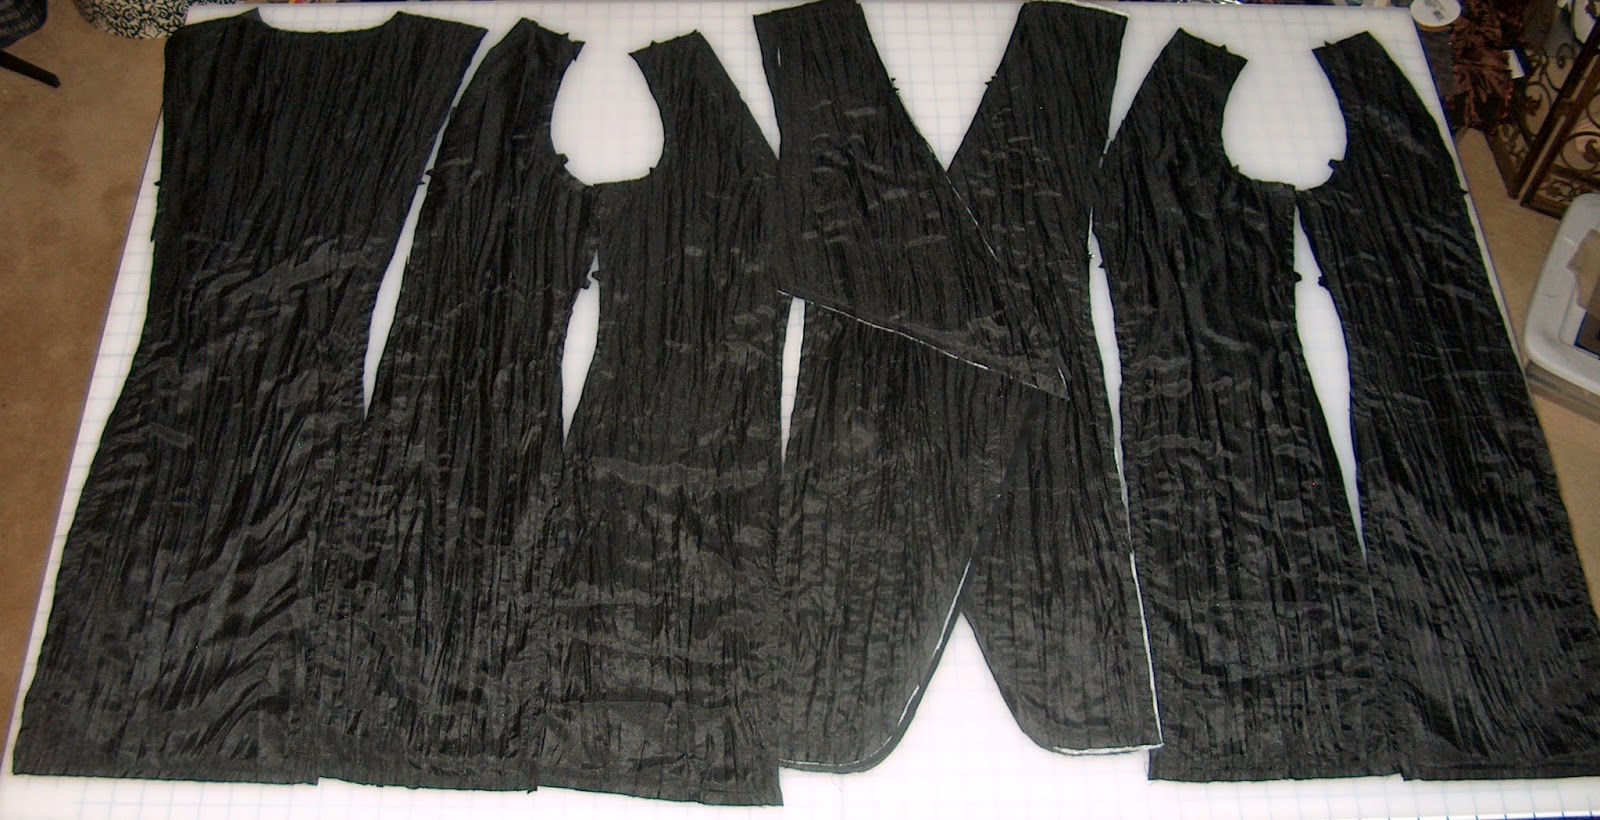
The flatlined and interlined jacket pieces.
 
The skirt, small contrast collar and cuffs will be made from the plaid taffeta.
 The pattern allows for cutting the skirt on the bias but as I'm limited in my fabric, I cut on the straight of grain making sure to match my plaid.

Black cotton lining.
During the jacket construction I have a thought that I may not like the contrast collar with a vintage blouse I plan to use.  I take some pictures, share with friends, and the vote is unanimous - yes to the collar.
Before sewing in the sleeves, before hemming, and before adding buttons, I try on the in-process suit with the shoes and underthings I will be wearing.  In my accessory stash I have rediscovered this over-the-top beaded hat which is perfect for this suit.
The suit is finished and at last I add the wonderful vintage buttons to the cuffs.

With a finished skirt I change my mind and add a black blouse with lace jabot.
The finished suit!


The vintage buttons have a new life.


 Historical Sew Monthly

What the item is:  'Martha Levinson' Suit
Fabric:  Cotton, taffeta
Stashed for how long:  Soonest was late 2014 and longest was when I first started sewing in 2007.
Pattern:  Butterick Retro '12 B6108
Year:  1912
Notions:  Vintage and modern buttons and beaded collar
How historically accurate is it?  The pattern is very accurate according to photos I have seen and a vintage jacket owned by a friend.
Hours to complete?  22 hours
First worn:  Made for the April 2015 Dressing Downton Exhibit at Biltmore Estate.
Total cost:  Fabric was stashed because the cotton was purchased at $1.00 per yard and the plaid came from a friend's stash.  Total actual out-of-pocket approximately $40.00 mostly in the collar and buttons.

Do you think Martha Levinson would approve?  It's quite her over-the-top style, I believe!

Love,
Jeanette