Live in the sunshine.
- Ralph Waldo Emerson
Summer and sunshine are almost here! And while I love wearing fun wide-brimmed hats to keep the sun off my face, I know that once that hat is on my head, it must stay there for the rest of the day. I am prone to severe cases of that dreaded affliction - Hat Hair! So I was thinking about the Victorian ladies and their porcelain complexions protected by their ever beautiful parasols and an idea came to me - a custom parasol cover!
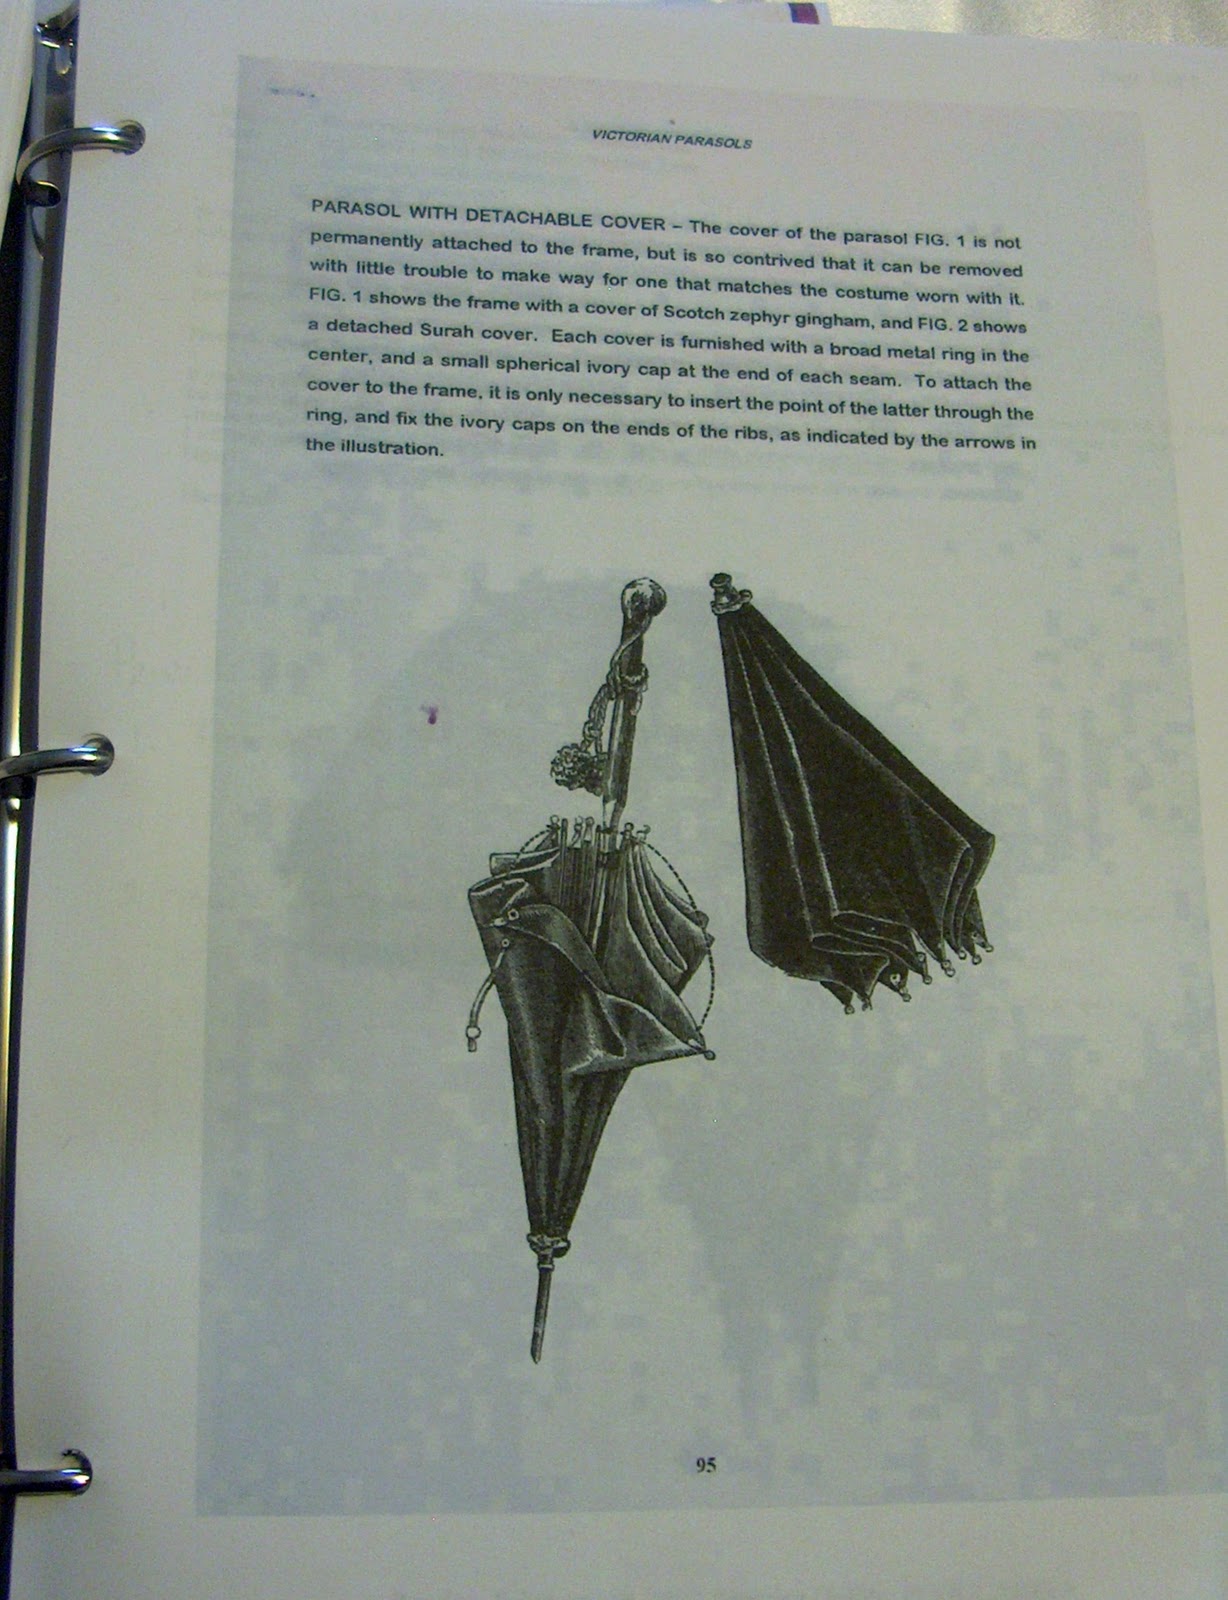
Now changeable parasol covers is not a new idea. This was shared with me by my dear friend Kathleen Henderson: "Victorian Parasols. Parasol with detachable cover - the cover of the parasol Fig. 1 is not permanently attached to the frame, but is so contrived that it can be removed with little trouble to make way for one that matches the costume worn with it.
Fig 1 shows the frame with a cover of Scotch zephyr gingham, and Fig 2 shows a detached Surah cover. Each cover is furnished with a broad metal ring in the center, and a small spherical ivory cap at the end of each seam. To attach the cover to the frame, it is only necessary to insert the point of the latter through the ring, and fix the ivory caps on the ends of the ribs, as indicated by the arrows in the illustration."
But I am thinking it would be wonderful to have several covers for my parasol that would just tie on. And wouldn't it be more wonderful to have a reversible cover? So I've purchased two coordinating fabrics - 1-1/2 yards of 45" wide of each fabric, two rolls of coordinating 3/8" grosgrain ribbon, a 1/4" grosgrain ribbon to match the base parasol color, and 2 yards of lace.
This is a standard 'sutler' parasol which can be purchased at most costuming websites. They come in many colors and have wooden handles. They are a small, personal, size so that even in a crowd you can give yourself shade without taking up too much space.
This is a pattern for one panel of the sutler parasol. Since we don't need perfection for this cover like you would for an actual parasol, you can make this pattern by laying clear plastic wrap over your parasol, outlining with a Sharpie, and then adding a seam allowance. This pattern is cut from pattern saver so I can see exactly how I want to place the fabric design on my parasol.
And the first panel is cut.
To keep the same pattern on all remaining panels I use the first cut panel as my new pattern aligning the pattern on the fabric.
See how the pattern aligns closely? Not perfect, but close. Remember, this is supposed to be fun!
Now I have two panels. Using the first fabric panel you cut, repeat until you have six panels.
When sewing the panels for a parasol you can use a 'parasol seam' which is very strong. Pin your fabric about 3/4" from the edge. Fold over about 1/4" (I usually press this fold), and sew close to the raw edge through all four layers. Press each seam flat to integrate the thread into the fabric, then press open. Repeat for 5 seams. Note: The sewing ends about 1" from the top to leave room for the parasol ferrule. On my next pattern I will cut off the pointed tip.
On your final seam cut a 2" piece of ribbon, fold in half, and sew into the seam about 3" from the outside edge. This will be a loop to hold your closure ribbon.
Now you have a parasol cover and you can see the circular pattern created when you matched your panels.
Since you really don't need the strength of the parasol seam on this cover you can also sew a French seam by adding 1/8" of fabric on the right and left side of the pattern.
Sew the seam with wrong sides together. (here is the loop for your closure tie)
Turn the fabric right sides together and sew the seam again. This is a nice finished seam if you are creating a cover with a single side.
Six panels sewn together with a closure loop in one seam.
I've cut 6 12" pieces of each of the two colors of 3/8" grosgrain ribbon and pinned them to each corner of the cover.
On one parasol cover side I pinned my 6 tie ribbons and then the lace. I stitched the lace to this cover side...
and then when I stitch both sides together I can just follow the first stitching from sewing on the lace.
After stitching the entire outer edge and then pressing the seam to integrate the thread into the fabric, I turned the cover right side out and pressed again. I turned the edges in at the ferrule opening and added a loop for a ribbon tie around the ferrule and blind stitched the two halves together.
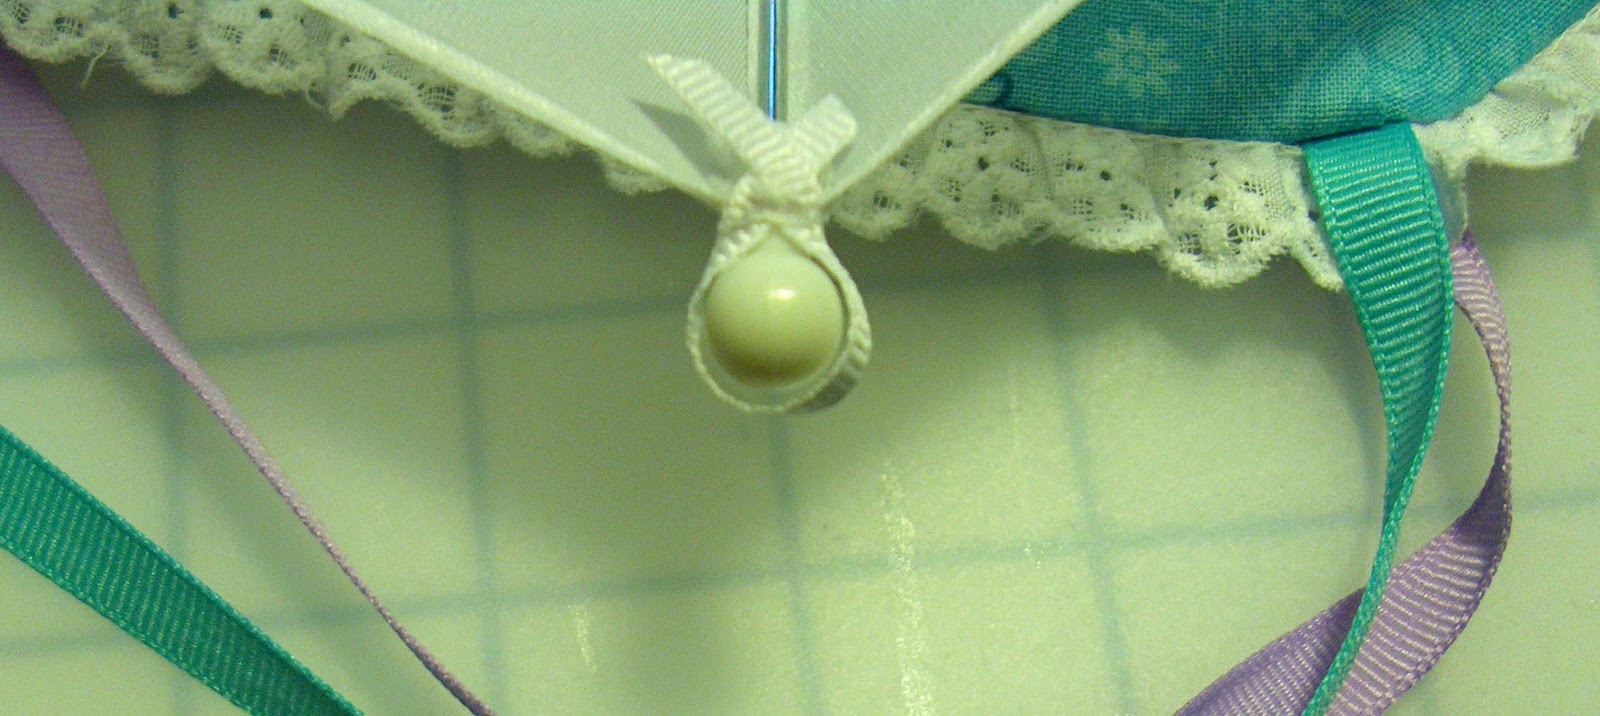
This is a 2" piece of the 1/4" grosgrain ribbon sewn through the same holes that hold the base parasol to the rib tips.
Thread one of the cover ties through the loop...
and make a knot and bow. Repeat for the other 5 rib tips. Cut a 12" piece of 3/8" grosgrain, thread through the loop in the center of the cover, and tie around the ferrule. (Note: I tied the cover onto the parasol loosley before opening the parasol. This cover is not meant to be tight.)
And....tada! A custom cover for my parasol!
This is the parasol closed and tied with a 24" piece of 3/8" grosgrain threaded through the loop you placed near the outer edge. This closure tie can be tied in a bow when the parasol is open.
And when the cover is removed and reversed, an entirely different parasol!
Two, two, two parasols in one! (That's taken from an old advertising line.)
The purple and blue colors are the colors of the March of Dimes. I made this parasol as a fund raiser for The Perfect Touch website. This baby's toy has wings that light and it plays Twinkle, Twinkle Little Star when you press its tummy. The toy will be included with the parasol in the fund raiser.
I hope you have enjoyed my idea and will be inspired to make some beautiful parasol covers of your own!
With Love,
May 6, 2011 A month has passed since I posted this tutorial and placed The New Beginnings Parasol on The Perfect Touch website. My husband and I were thrilled that his daughter was expecting her first baby - the first grandbaby. Science has given us such amazing tools to look into the future of our unborn and, sadly, at times that future is less than we would want for our children and grandchildren. Today the little one my husband and I had already come to love had to leave this life because of serious complications. The mission of The March of Dimes is to continue research into complications such as these and I am thankful for their work.
.jpg)